Dark Souls 3 How to Get Black Knight
Map
:format(webp):no_upscale()/cdn.vox-cdn.com/uploads/chorus_asset/file/7822997/2017_01_11_Road_of_Sacrifices.png)
Click the map to make it larger, and be sure to check out all of our Dark Souls 3 maps.
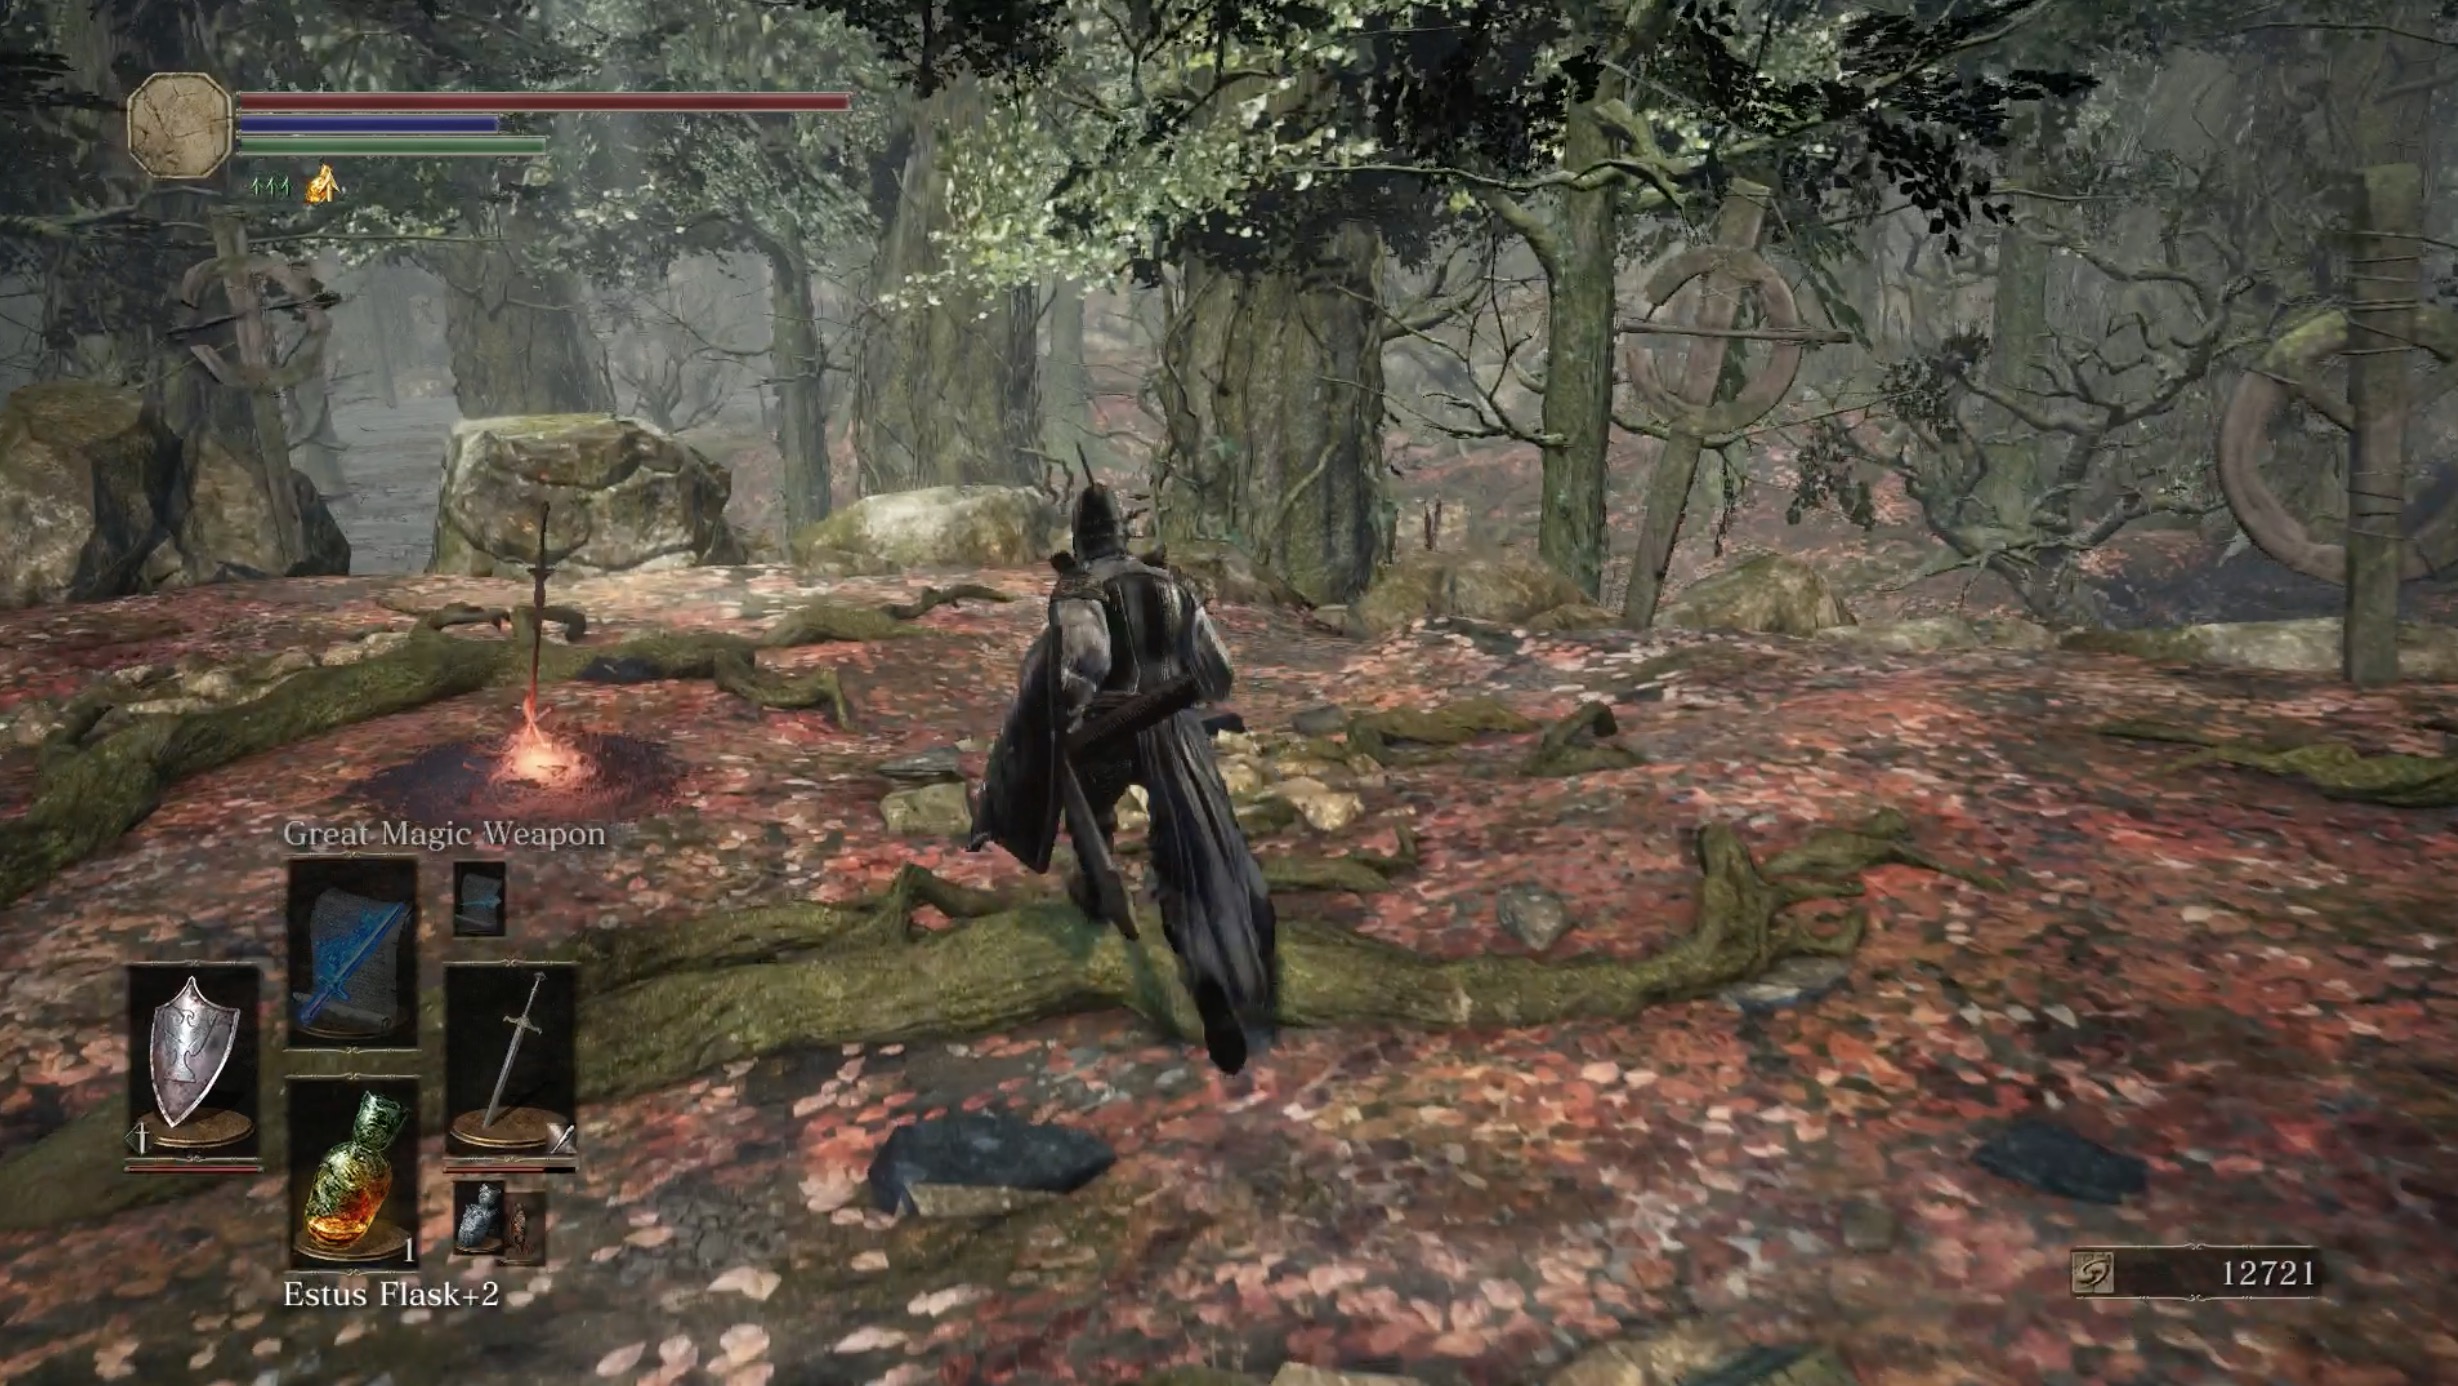
Road of Sacrifices bonfire
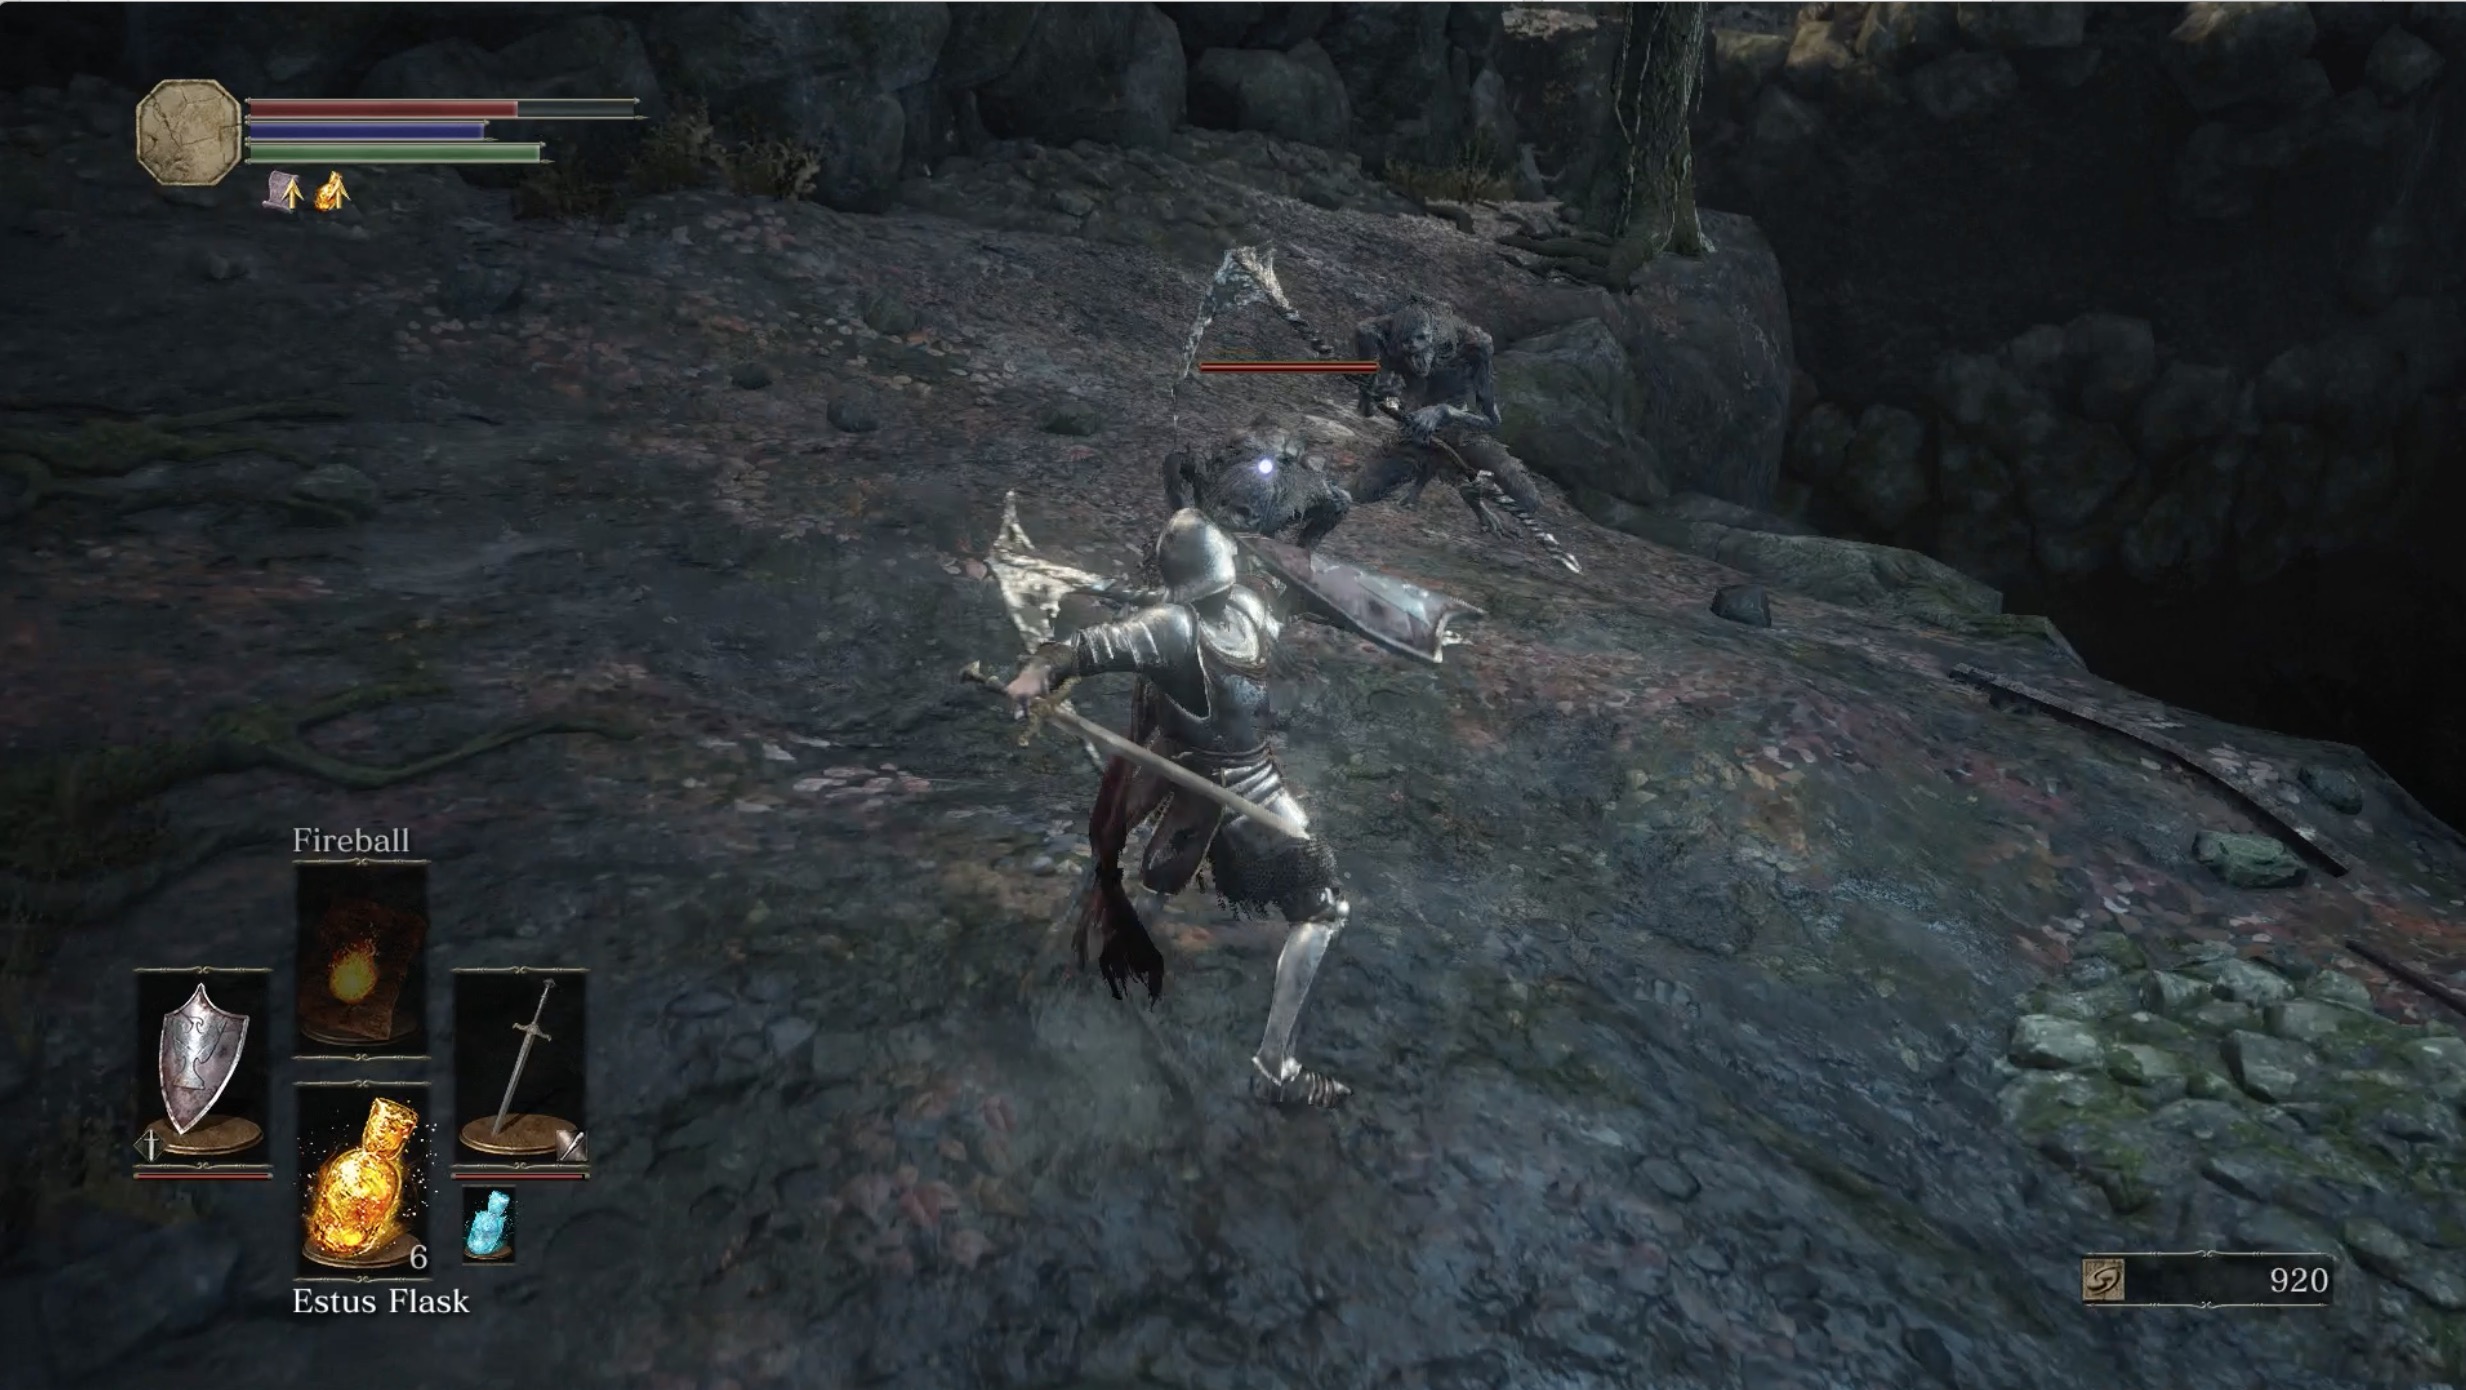
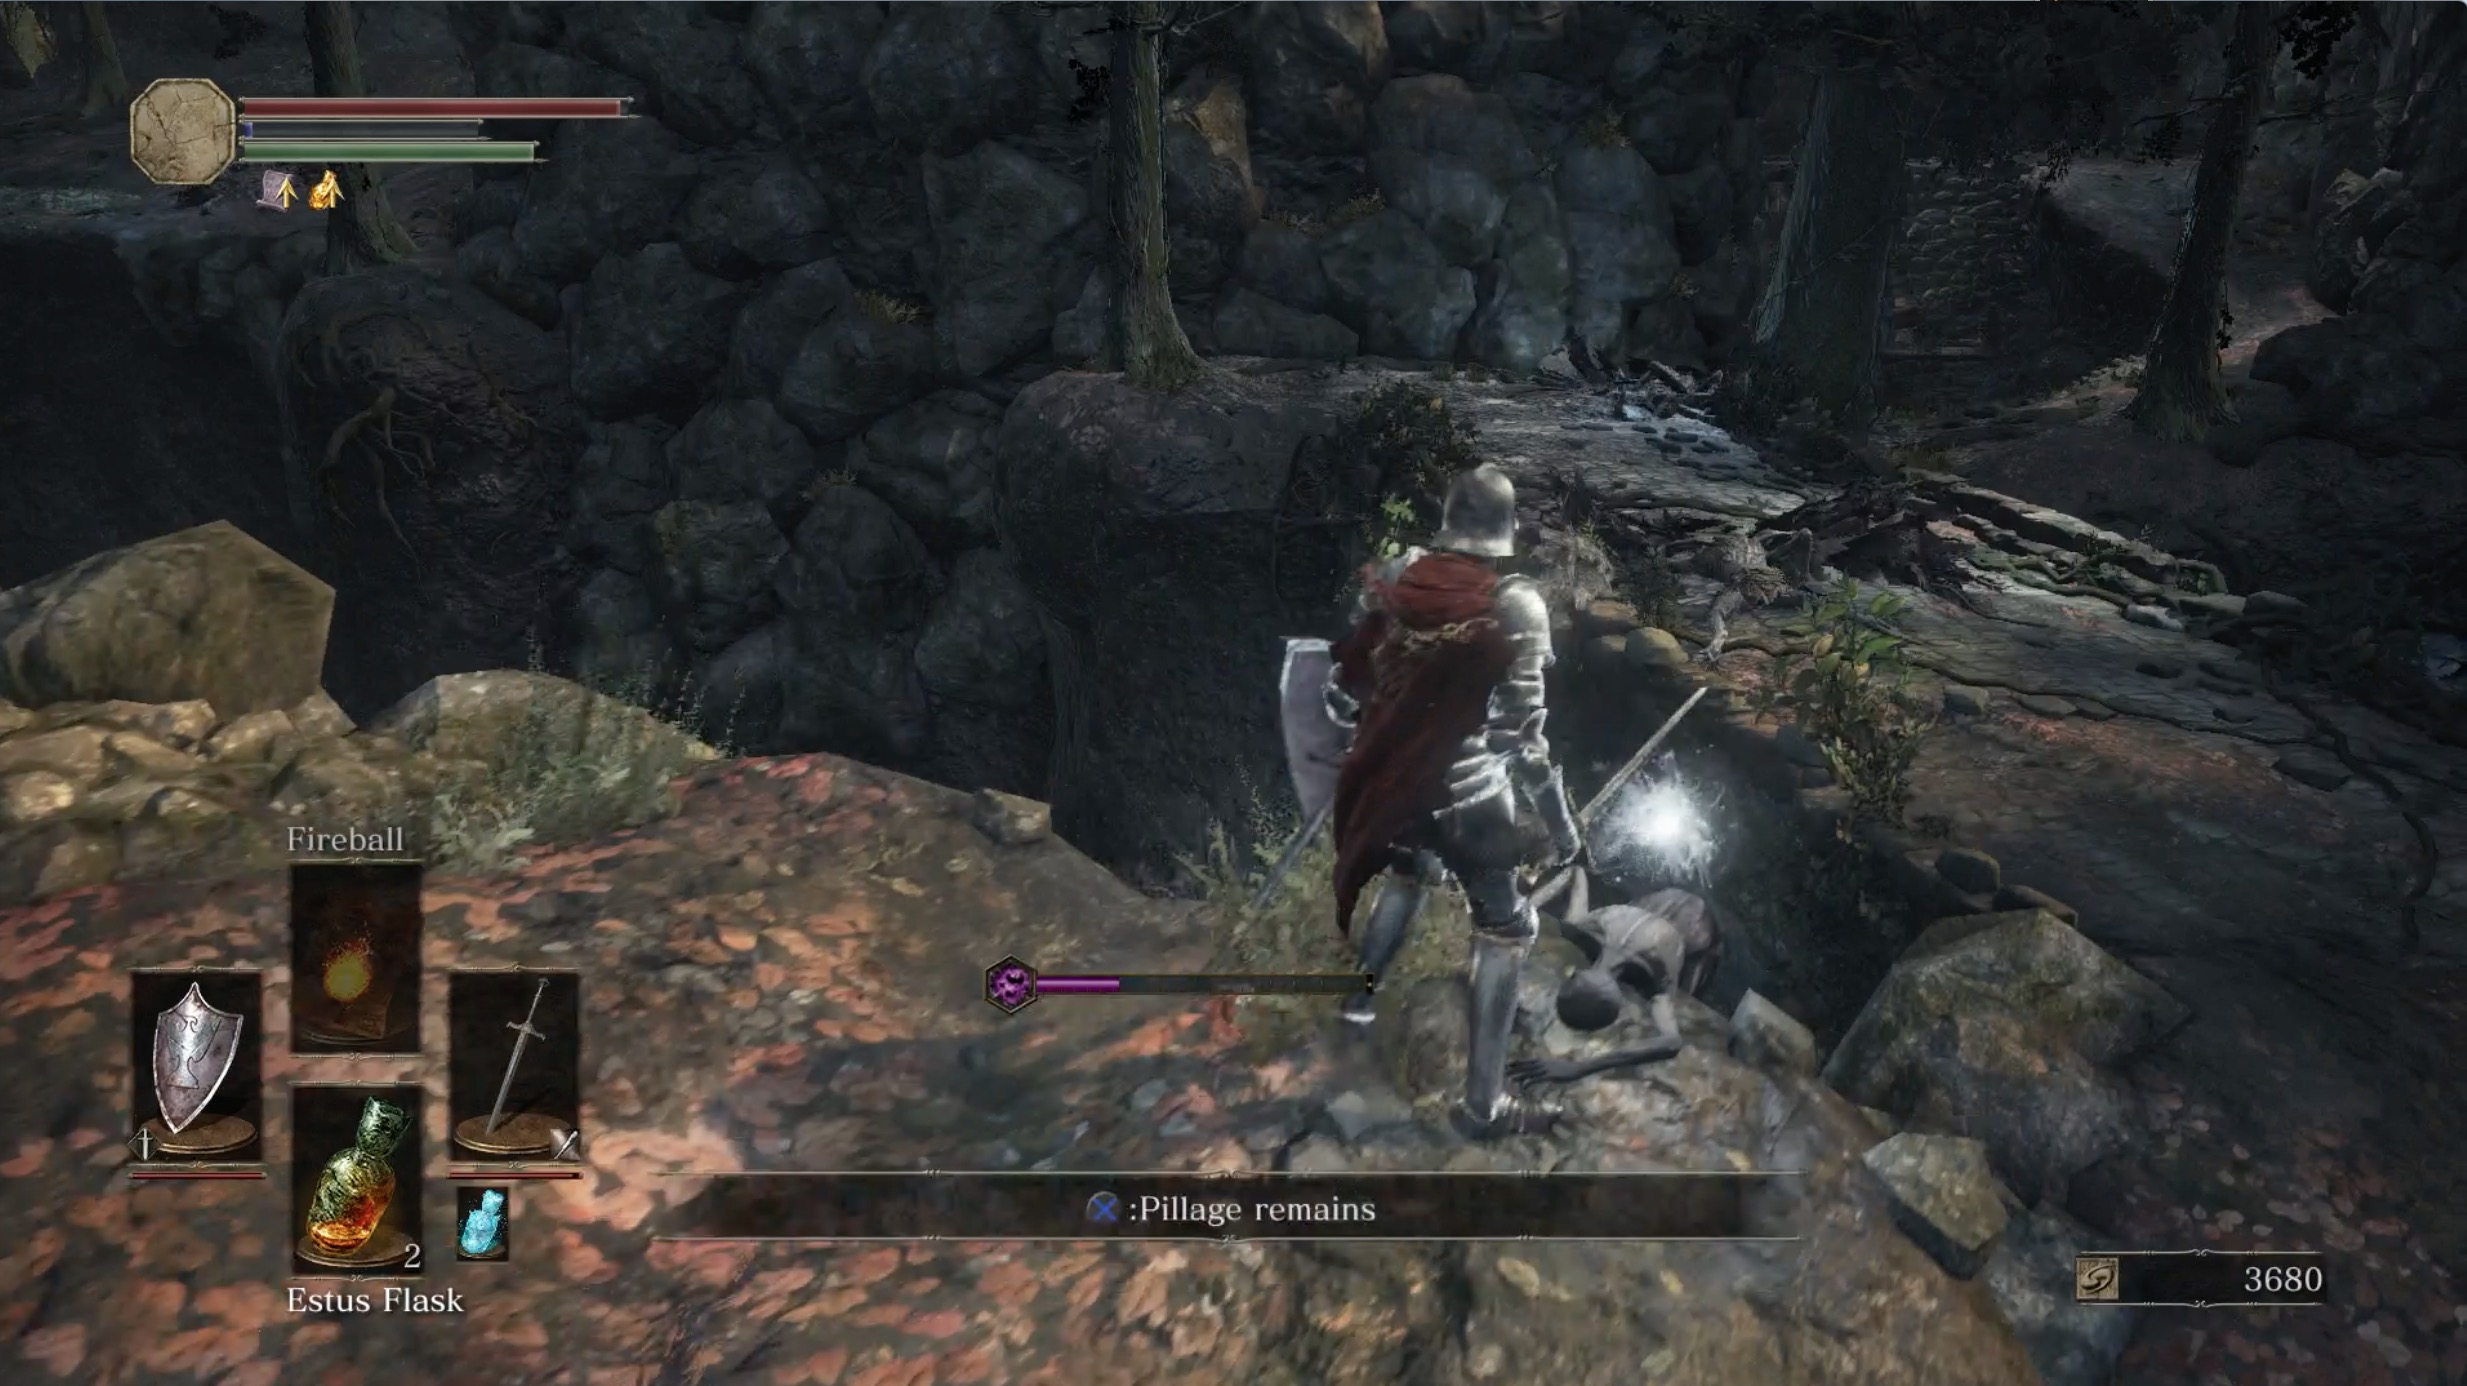
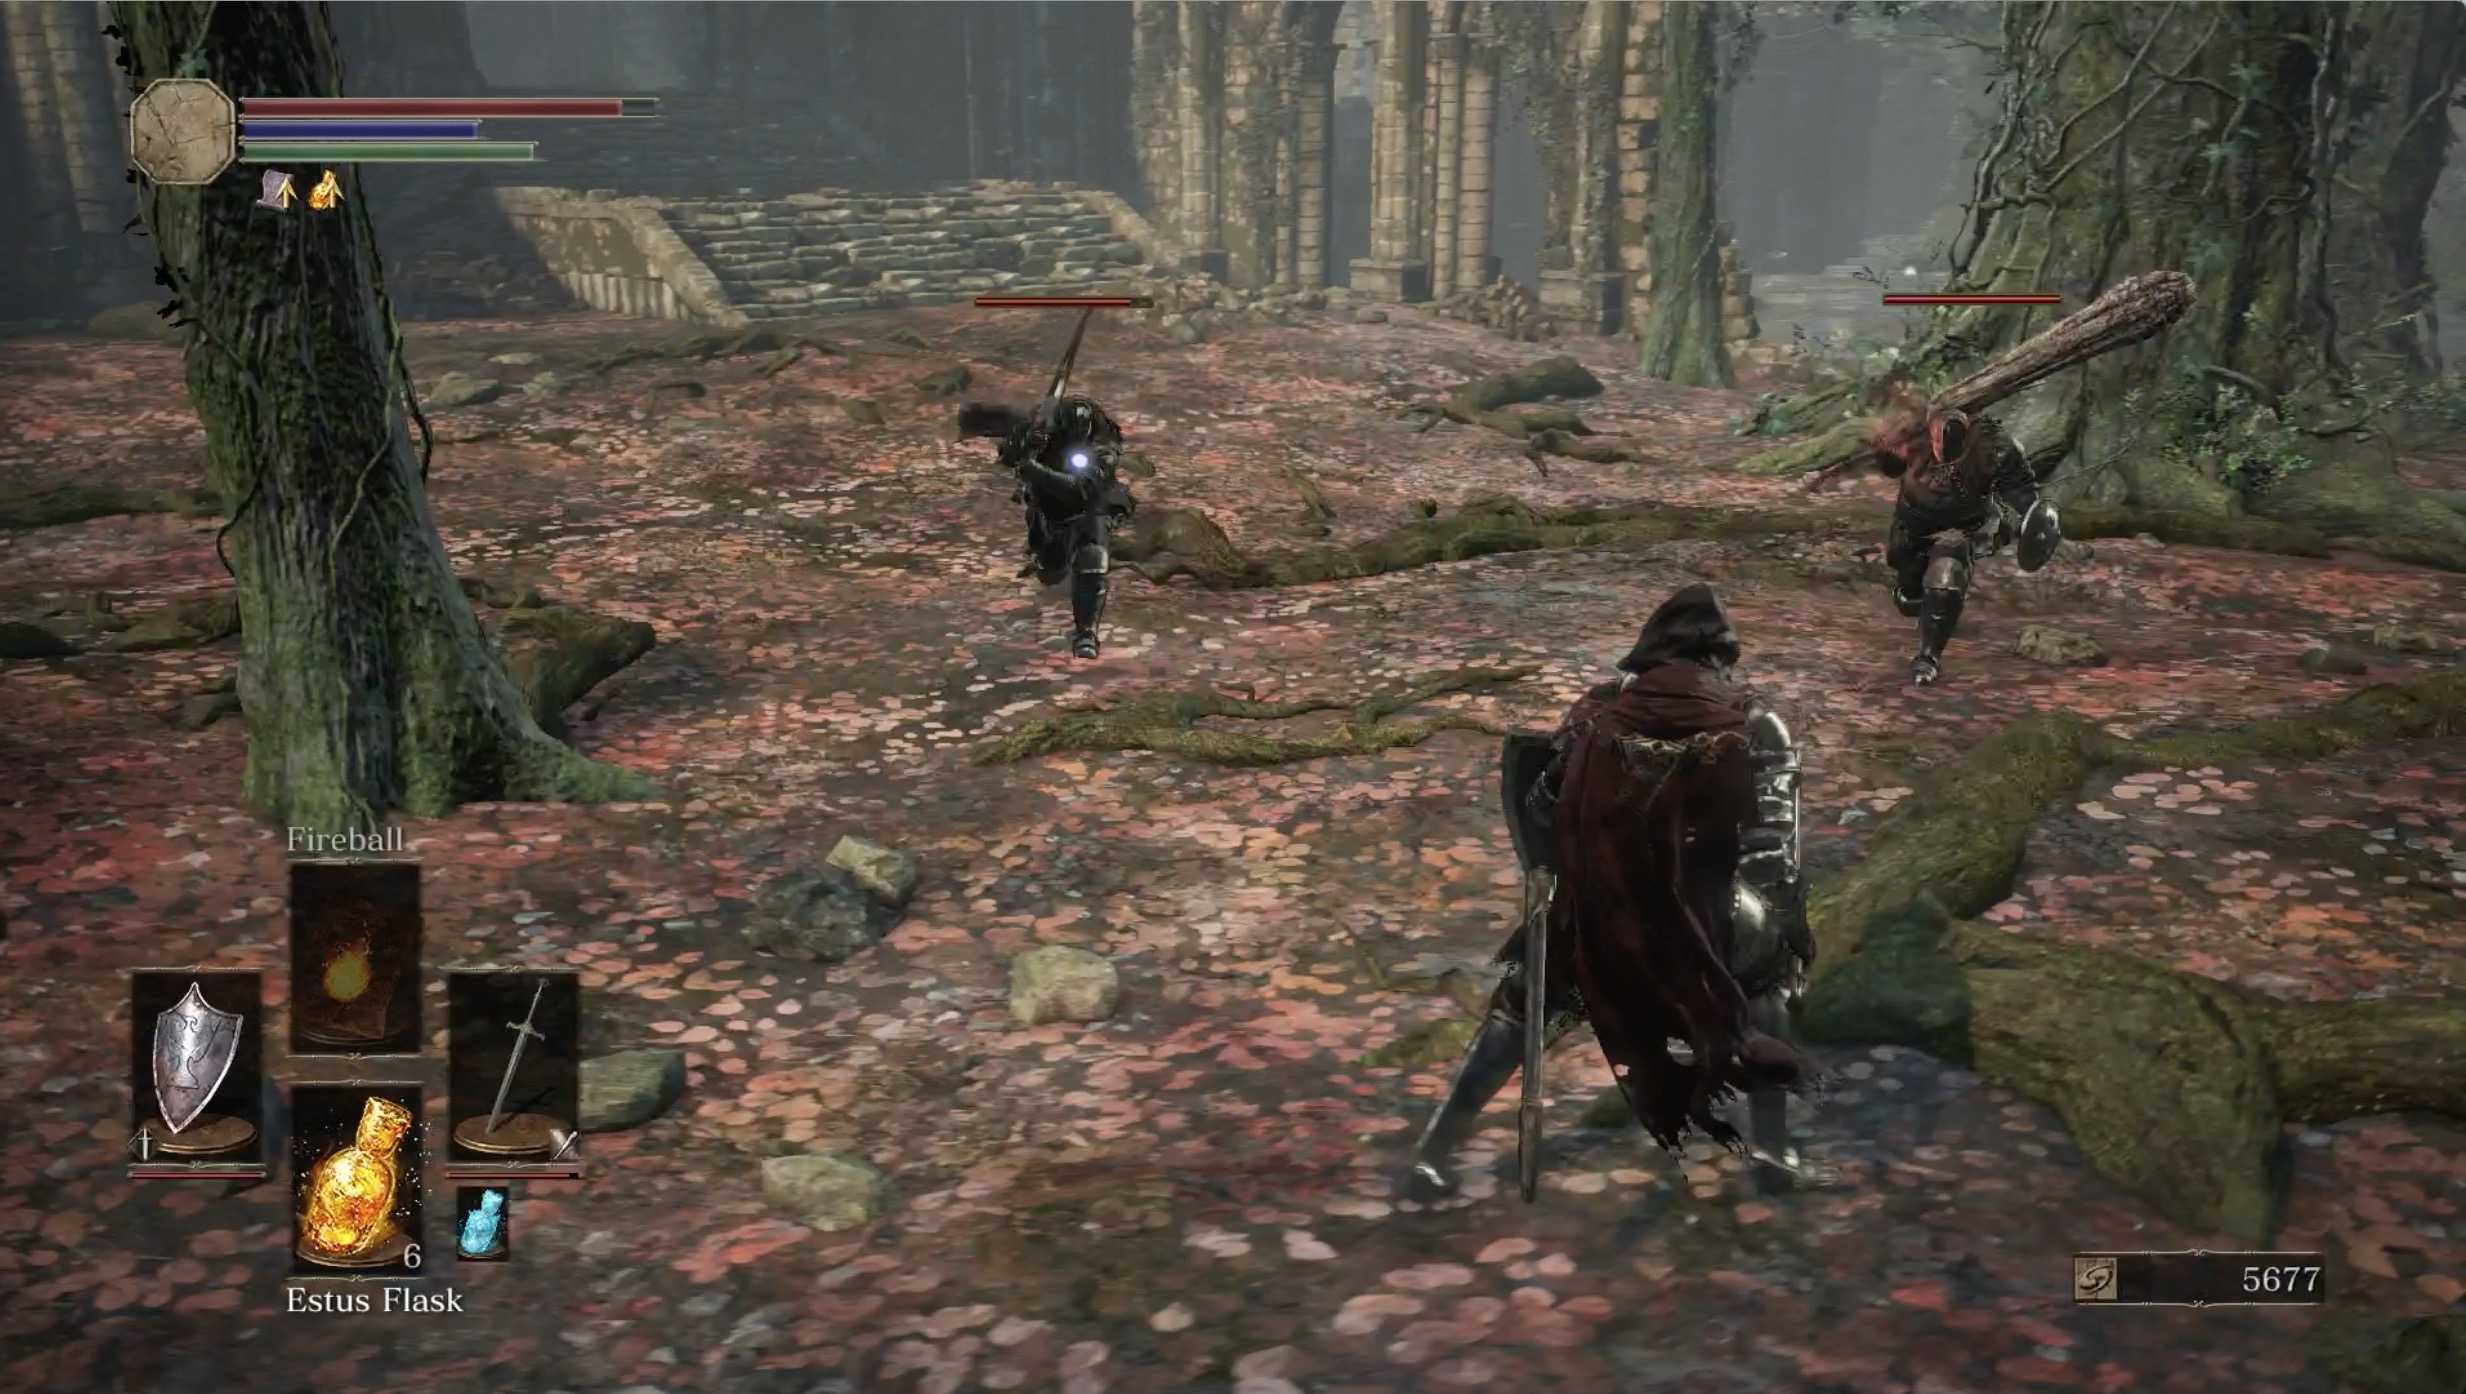
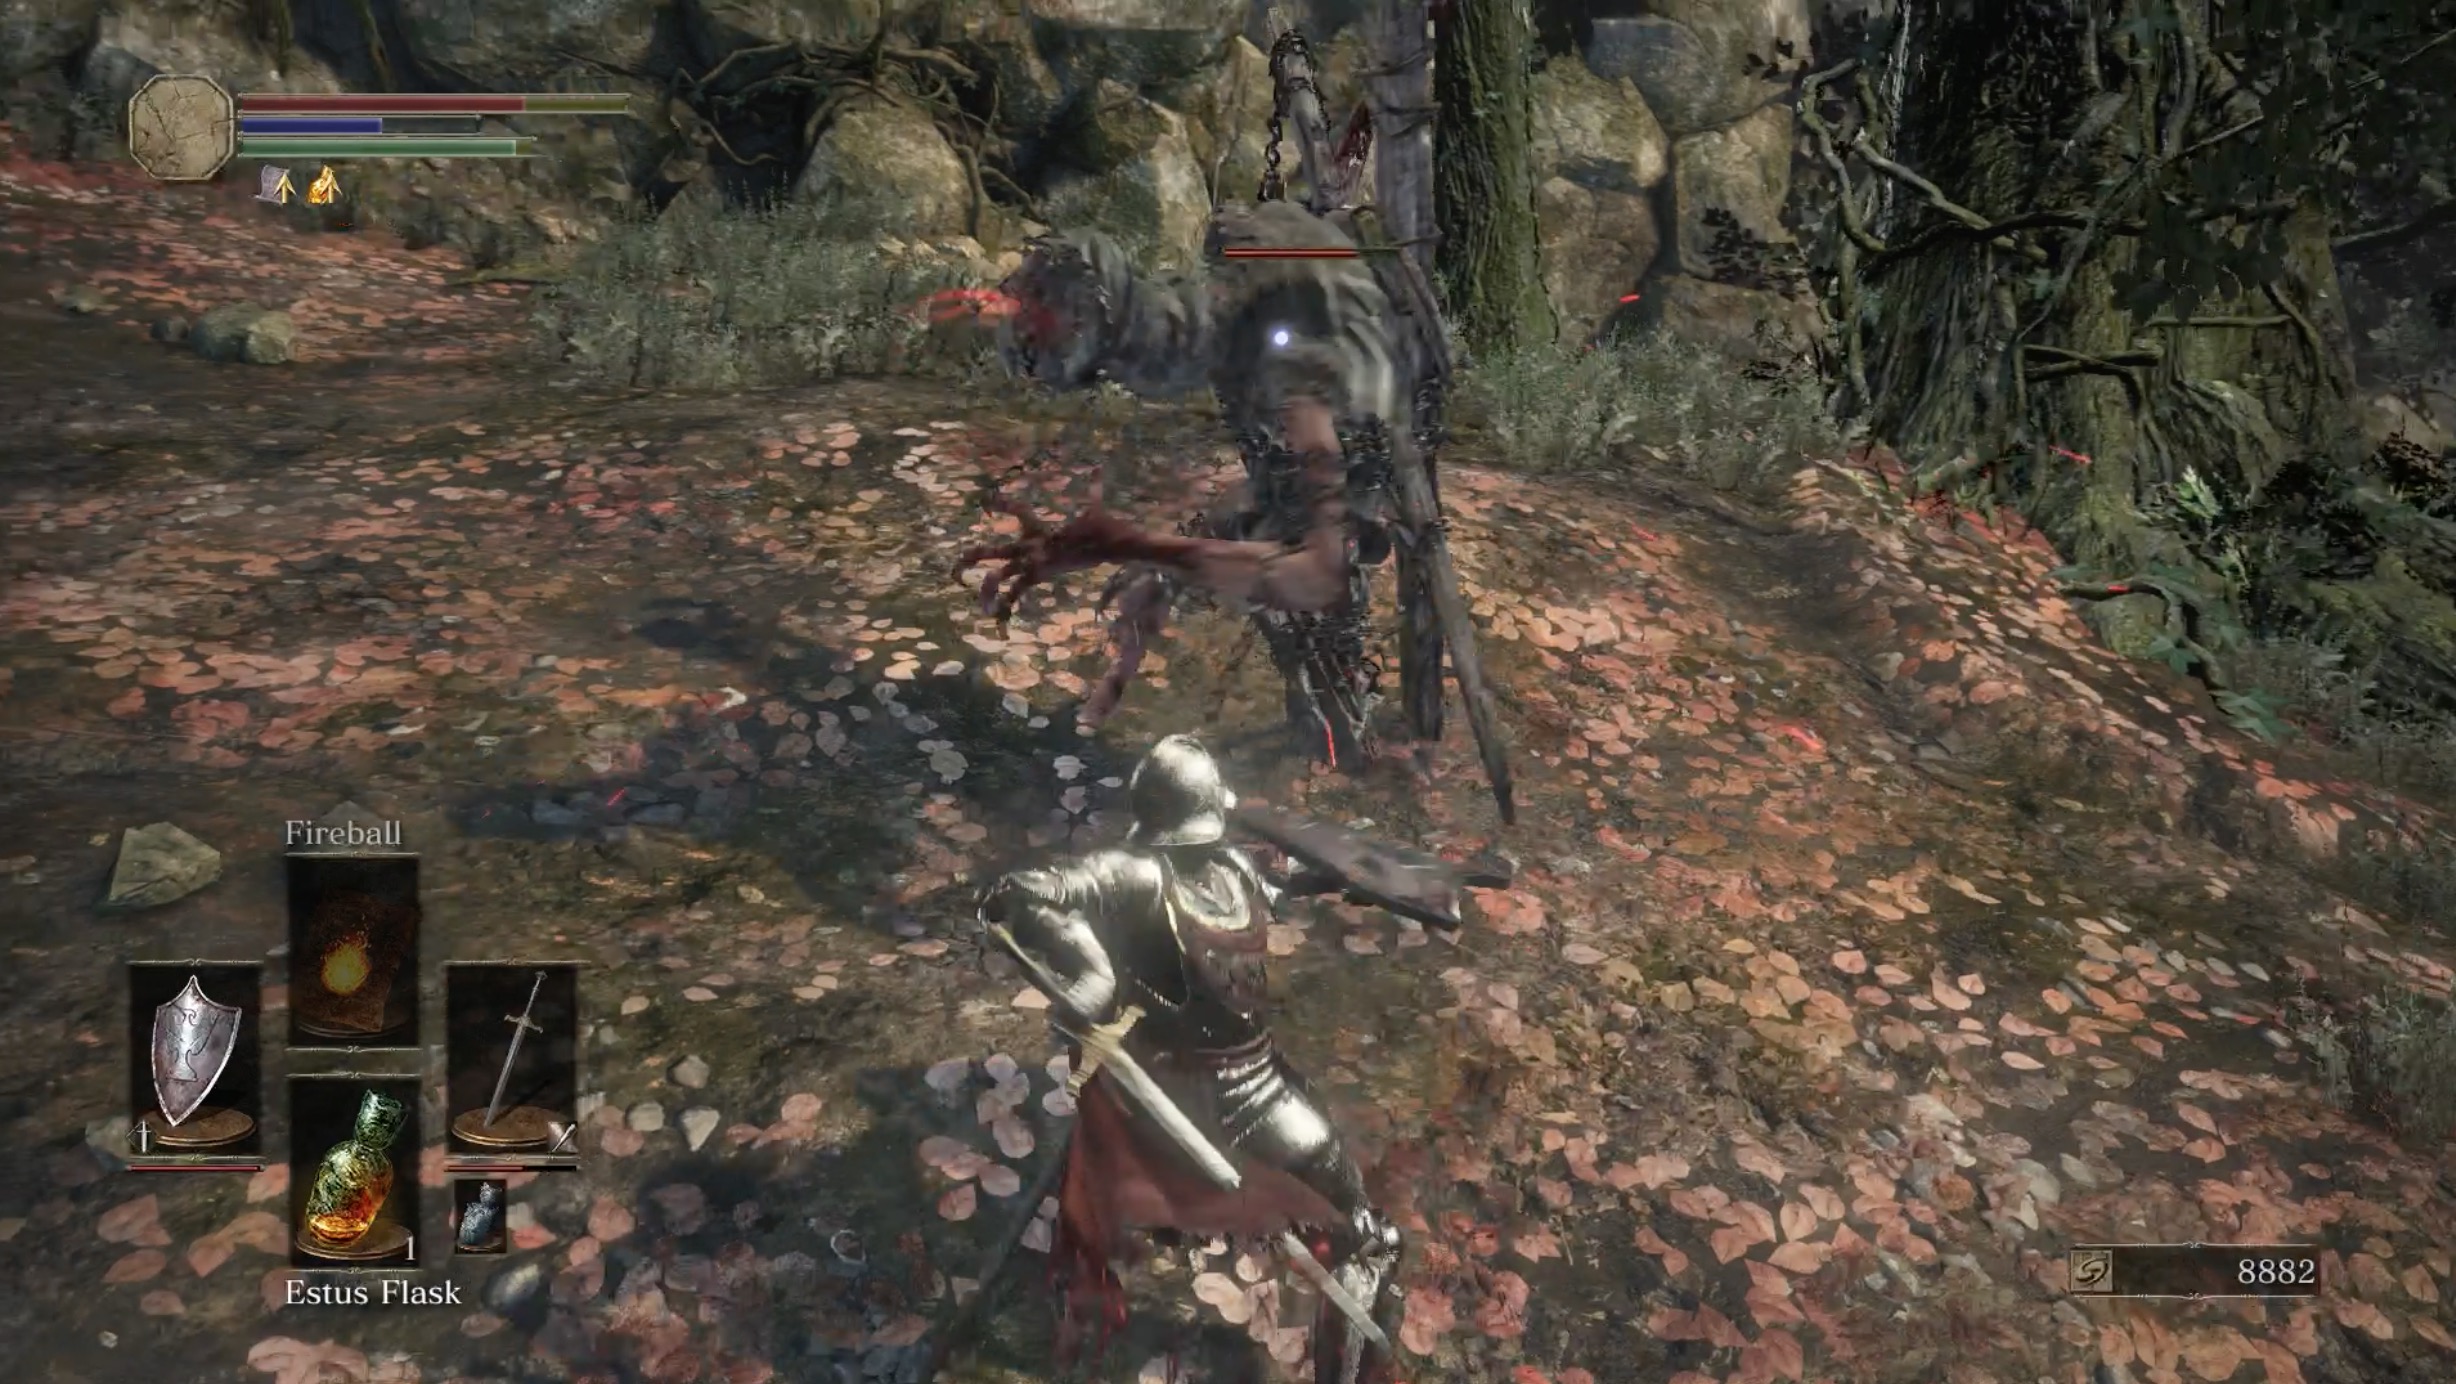
Head down the wide path, the one with a fallen carriage along the way. Look for a small nook along the way for a Shriving Stone. The enemies in this area include the Corvians and the Corvian Storytellers. The Corvians are some of the easiest foes in the game, provided you're fast and assertive enough to take them out before they sprout wings. If they do go airborne, keep your distance until they land again and then strike. Kill the Corvian Storytellers should as soon as possible, even if it means running into their poison mists. They're too dangerous to keep alive for long.
After you've gone past the natural arch behind the fallen carriage, veer right, make sure you have full health and drop down from the ledge and go around the cliffside path on the left. This path will pit you against a female Unkindled. Her dependence on heavy attacks leaves her wide open, provided you can keep your distance while avoiding those attacks. She shouldn't pose much of a problem as long as you actively try to flank her or get her from behind.
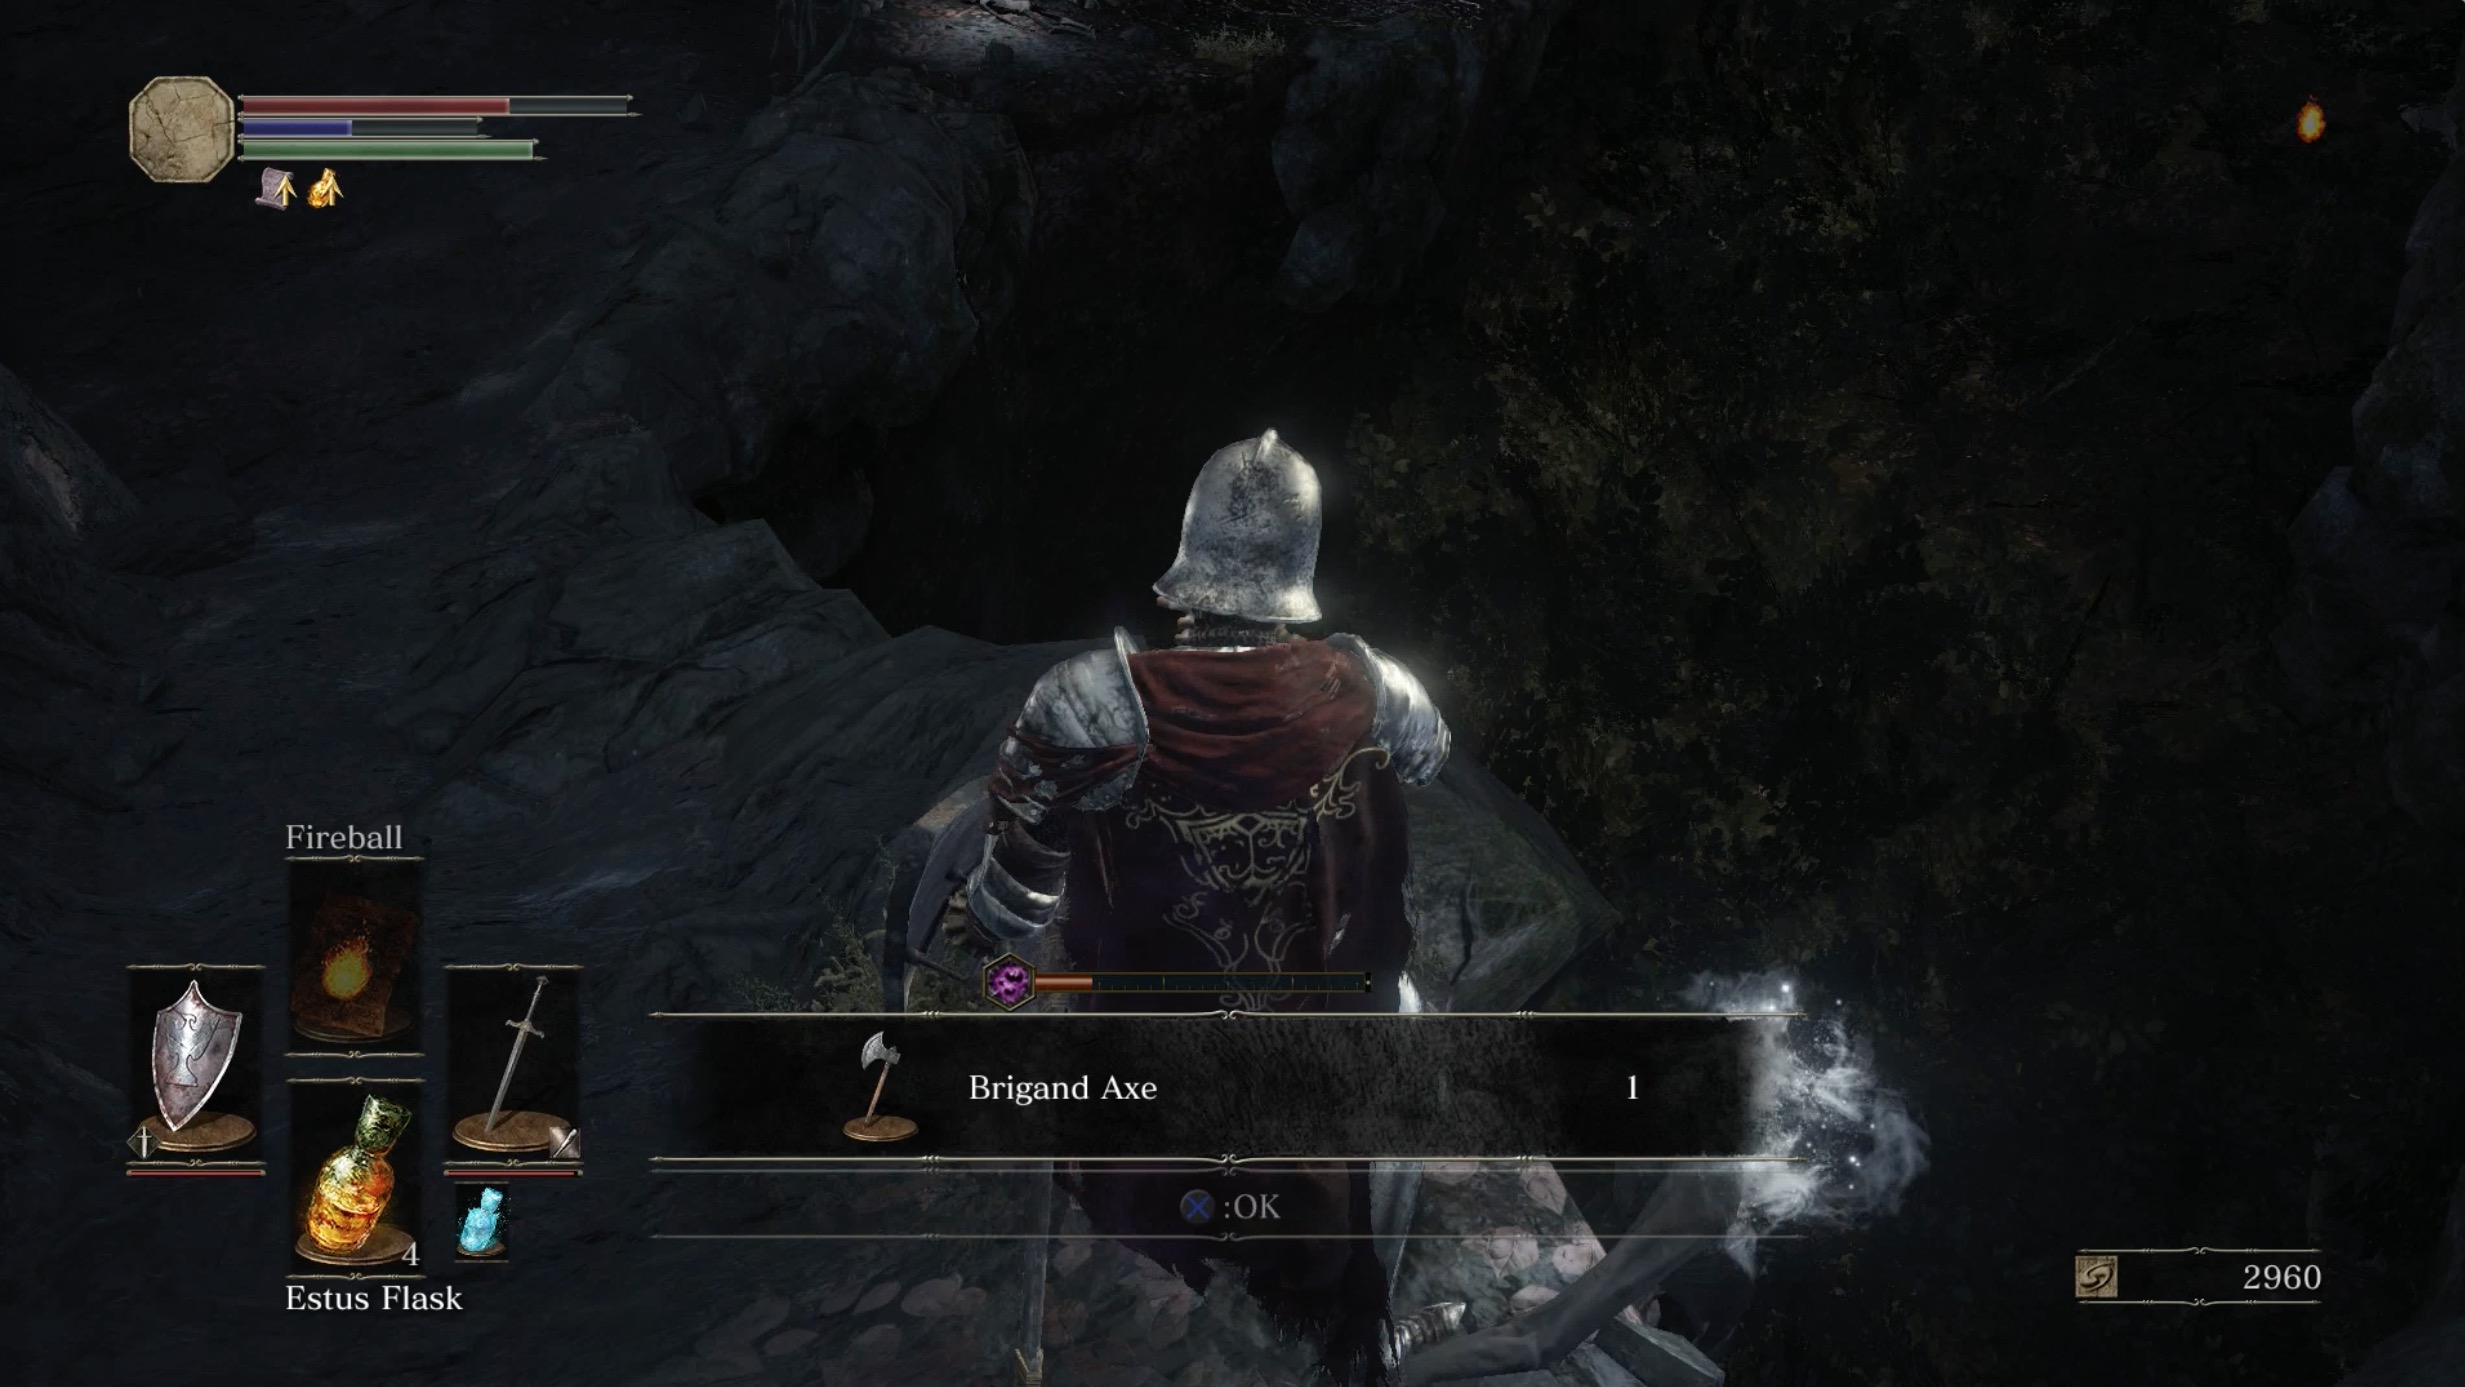
With her out of the way, you can pick up the items along the cliff: a Brigand Axe and Brigand Gear. Return to the path connected to the cliffside and go under the manmade arch. Continue to the cobblestone bridge, taking out the Corvians along the way.
Before crossing the bridge, look left to the ledge underneath the bridge. Dropping down to this ledge is worth the detour. Take out the Starved Hounds below. Then grab the Braille Divine and Morne's Ring. Take the ascending path to reach the other side of the bridge.
Grab the Ember next to the Corvian Storyteller as well as the Titanite Shard nearby, then head away from where you came from and toward the next bonfire.
Halfway Fortress bonfire

Speak to Anri of Astora and Horace, the two NPC knights close to the bonfire. Horace will give you the Blue Sentinels Covenant item and Anri talk to you about your shared mission. He'll become a recurring character depending on your future actions.
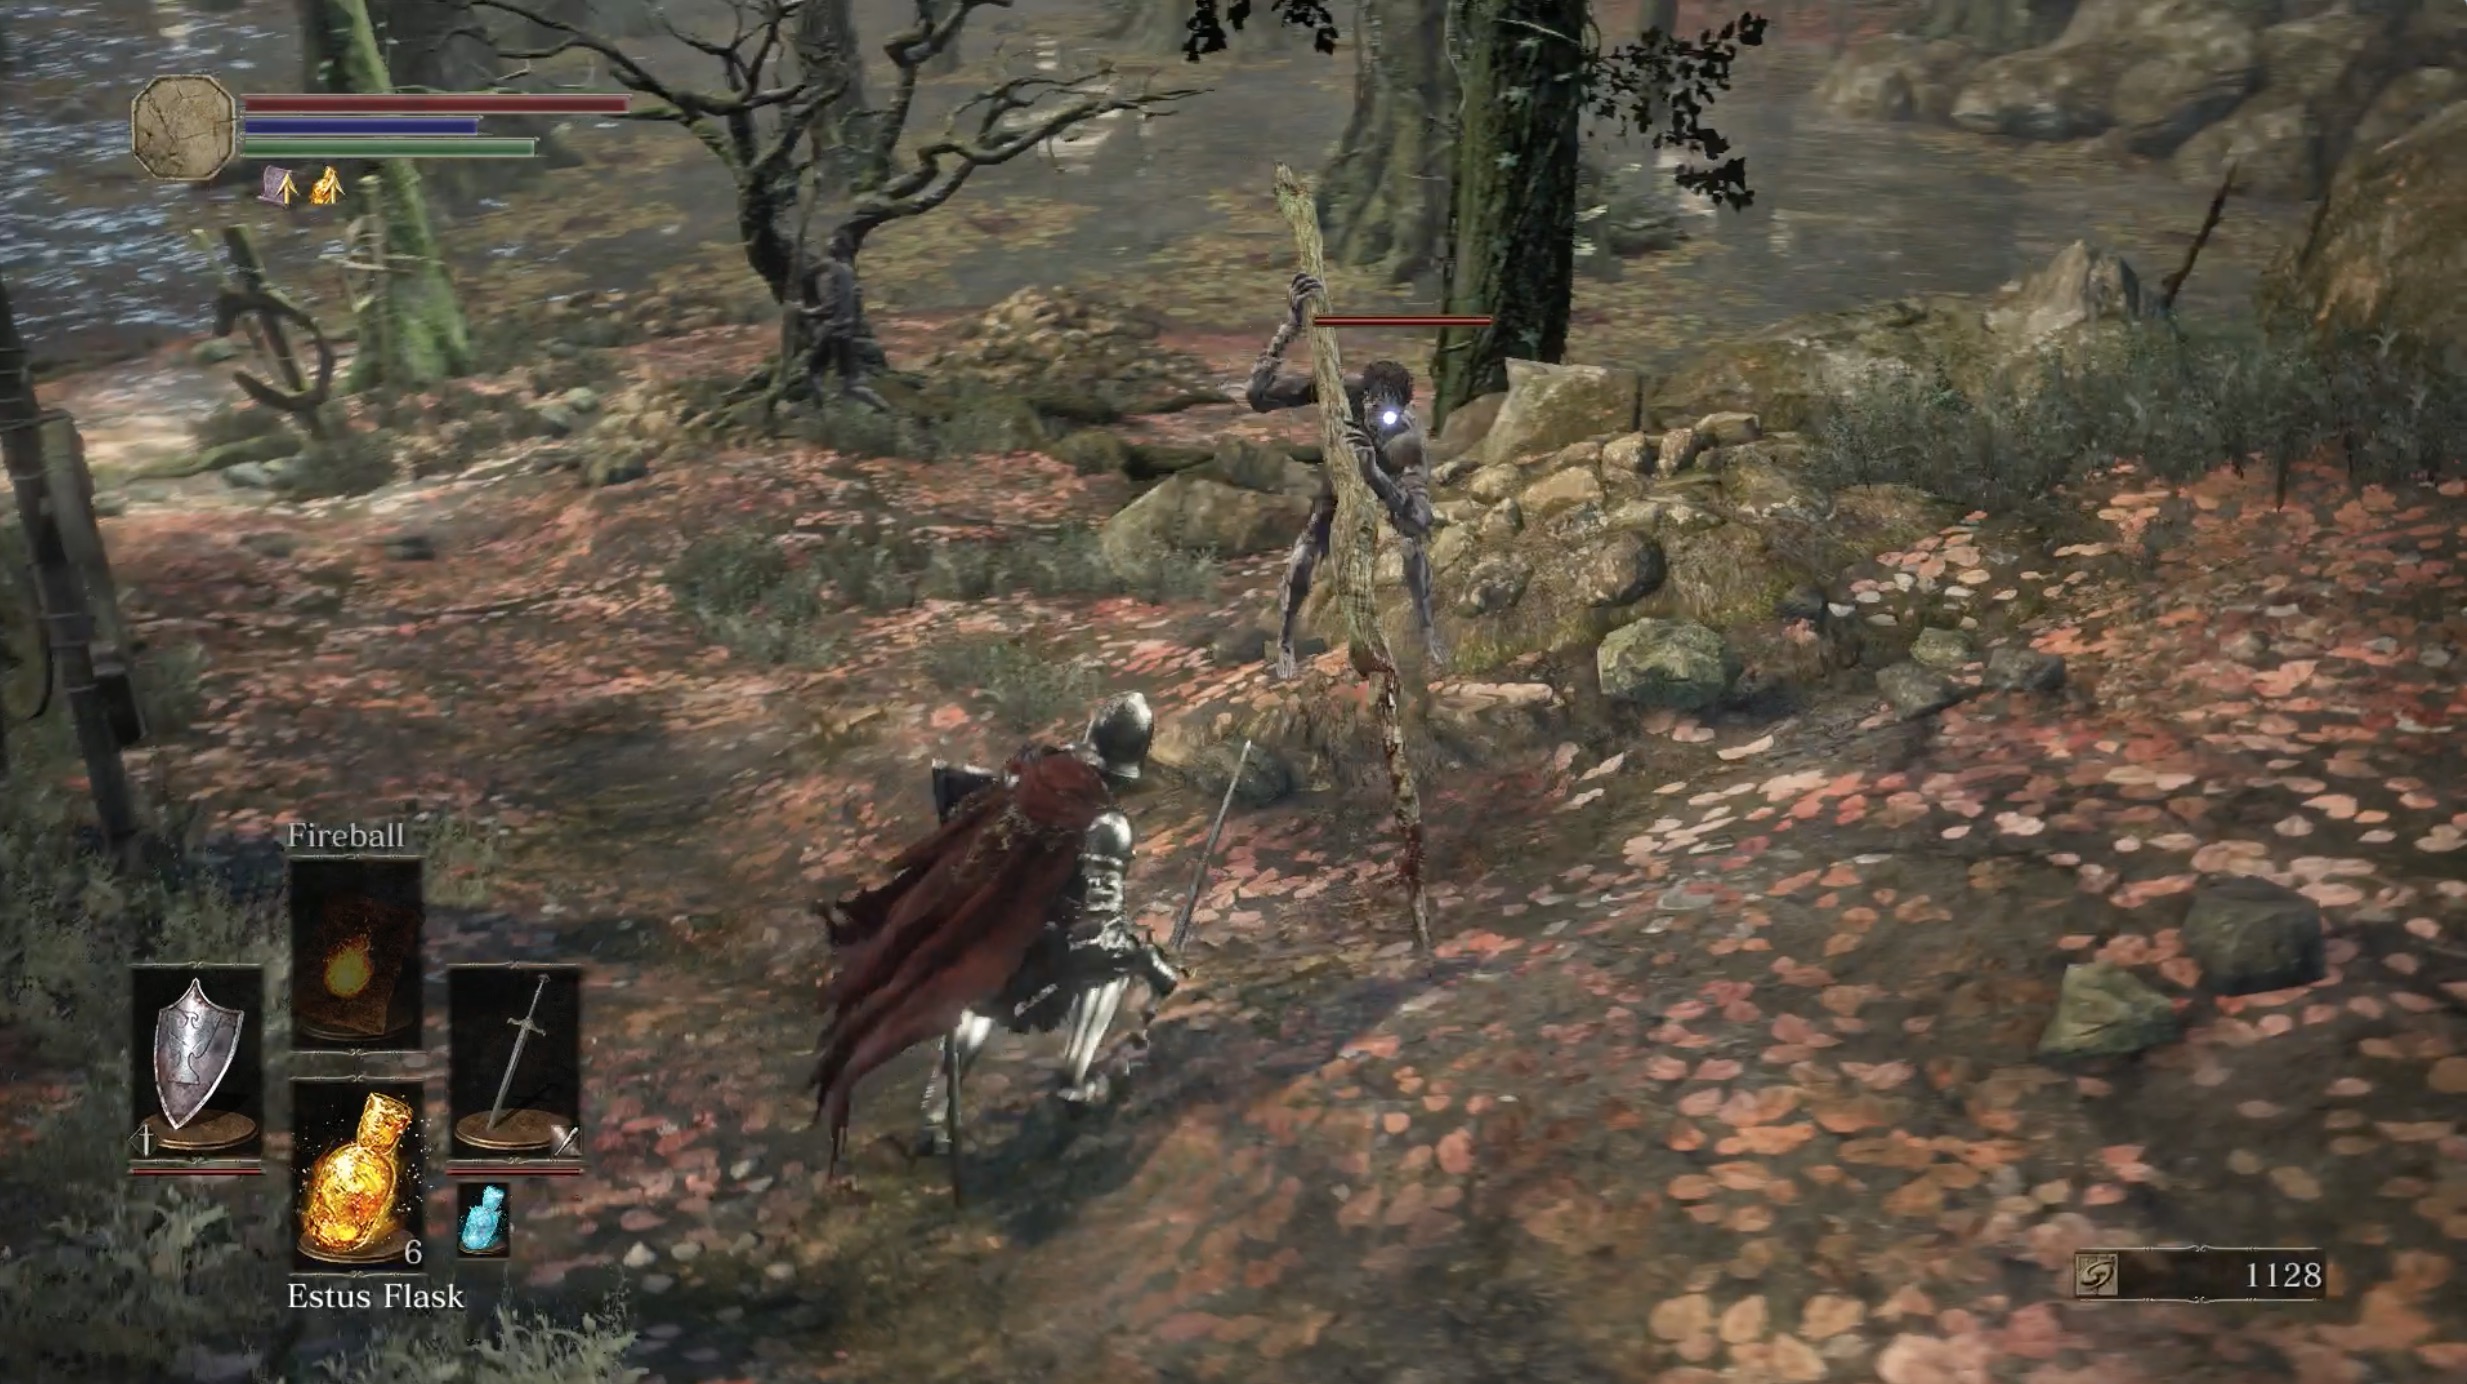
Pass through the next arch and head down the path to the swamp below. This will pit you against the pole-wielding Lycanthrope Hunters. Their poles are as heavy as they look, which makes their slow actions easy to read. Their sweeping attacks are limited, so you'll have a lot of opportunities to attack from the sides and the rear. Just be sure to avoid being hit at all costs, because those poles pack a punch. At the bottom of the ramp leading to the swamp (and the first group of Lycanthrope Hunters), make a U-turn to the right to find another hunter, a Starved Hound and a Titanite Shard.

In the swamp itself are the Lesser Crabs and the Great Crabs. The Lesser Crabs are easy to kill. The Great Crabs, as large as they are, have their share of openings. Because of their shells, you should prioritize their fronts, but be watchful of its sweeping claw attack. If a white mist collects around its mouth, move to the side to avoid its spitting attack, which is easy to avoid when you see it coming. There are three Great Crabs in this area and one of them will drop a Great Swamp Ring, which boosts pyromancies, after you kill it.
Along the right edge of the map are two Lycanthropes. They're one of the most lethal enemies in Road of Sacrifices, charging at you and attacking with seemingly impossible speed and stamina. You can get the jump on them with a full melee combo before they have a chance to attack you. Once they're up, keep your attacks limited to one or two hits before retreating or blocking, and ensure that you have enough stamina to withstand their onslaughts.
The turtle-like Poisonhorn Bug also lines the edges of the swamp. Their slow movements make them easy targets worth dealing with aggressively. If they manage to emit too much poison, take a step back and wait for the mists to dissipate. If you get poisoned, find a bonfire and rest to heal yourself of the status effect damage.
Lining the front and the left sides of this swamp is a manmade building. Move along the front portion to find a full set of Conjurator Armor and the Great Swamp Pyromancy Tome, which you can give to Give to Cornyx of the Great Swamp in Firelink Shrine to learn more powerful pyromancies. If you hug the left side of the map (eventually leading to the keep), you'll find a Twin Dragon Greatshield and two separate Titanite Shards around the trees and a Grass Crest Shield where the swamp and dryland meet. Anticipate encounters with lots of Poisonhorn Bugs, Starved Hounds and Lycanthrope Hunters.
This path to the left will also lead you to a small plateau lit by sunlight. There you'll find another bonfire, which makes for a convenient checkpoint before facing the challenges within the building ahead.
Crucifixion Woods bonfire
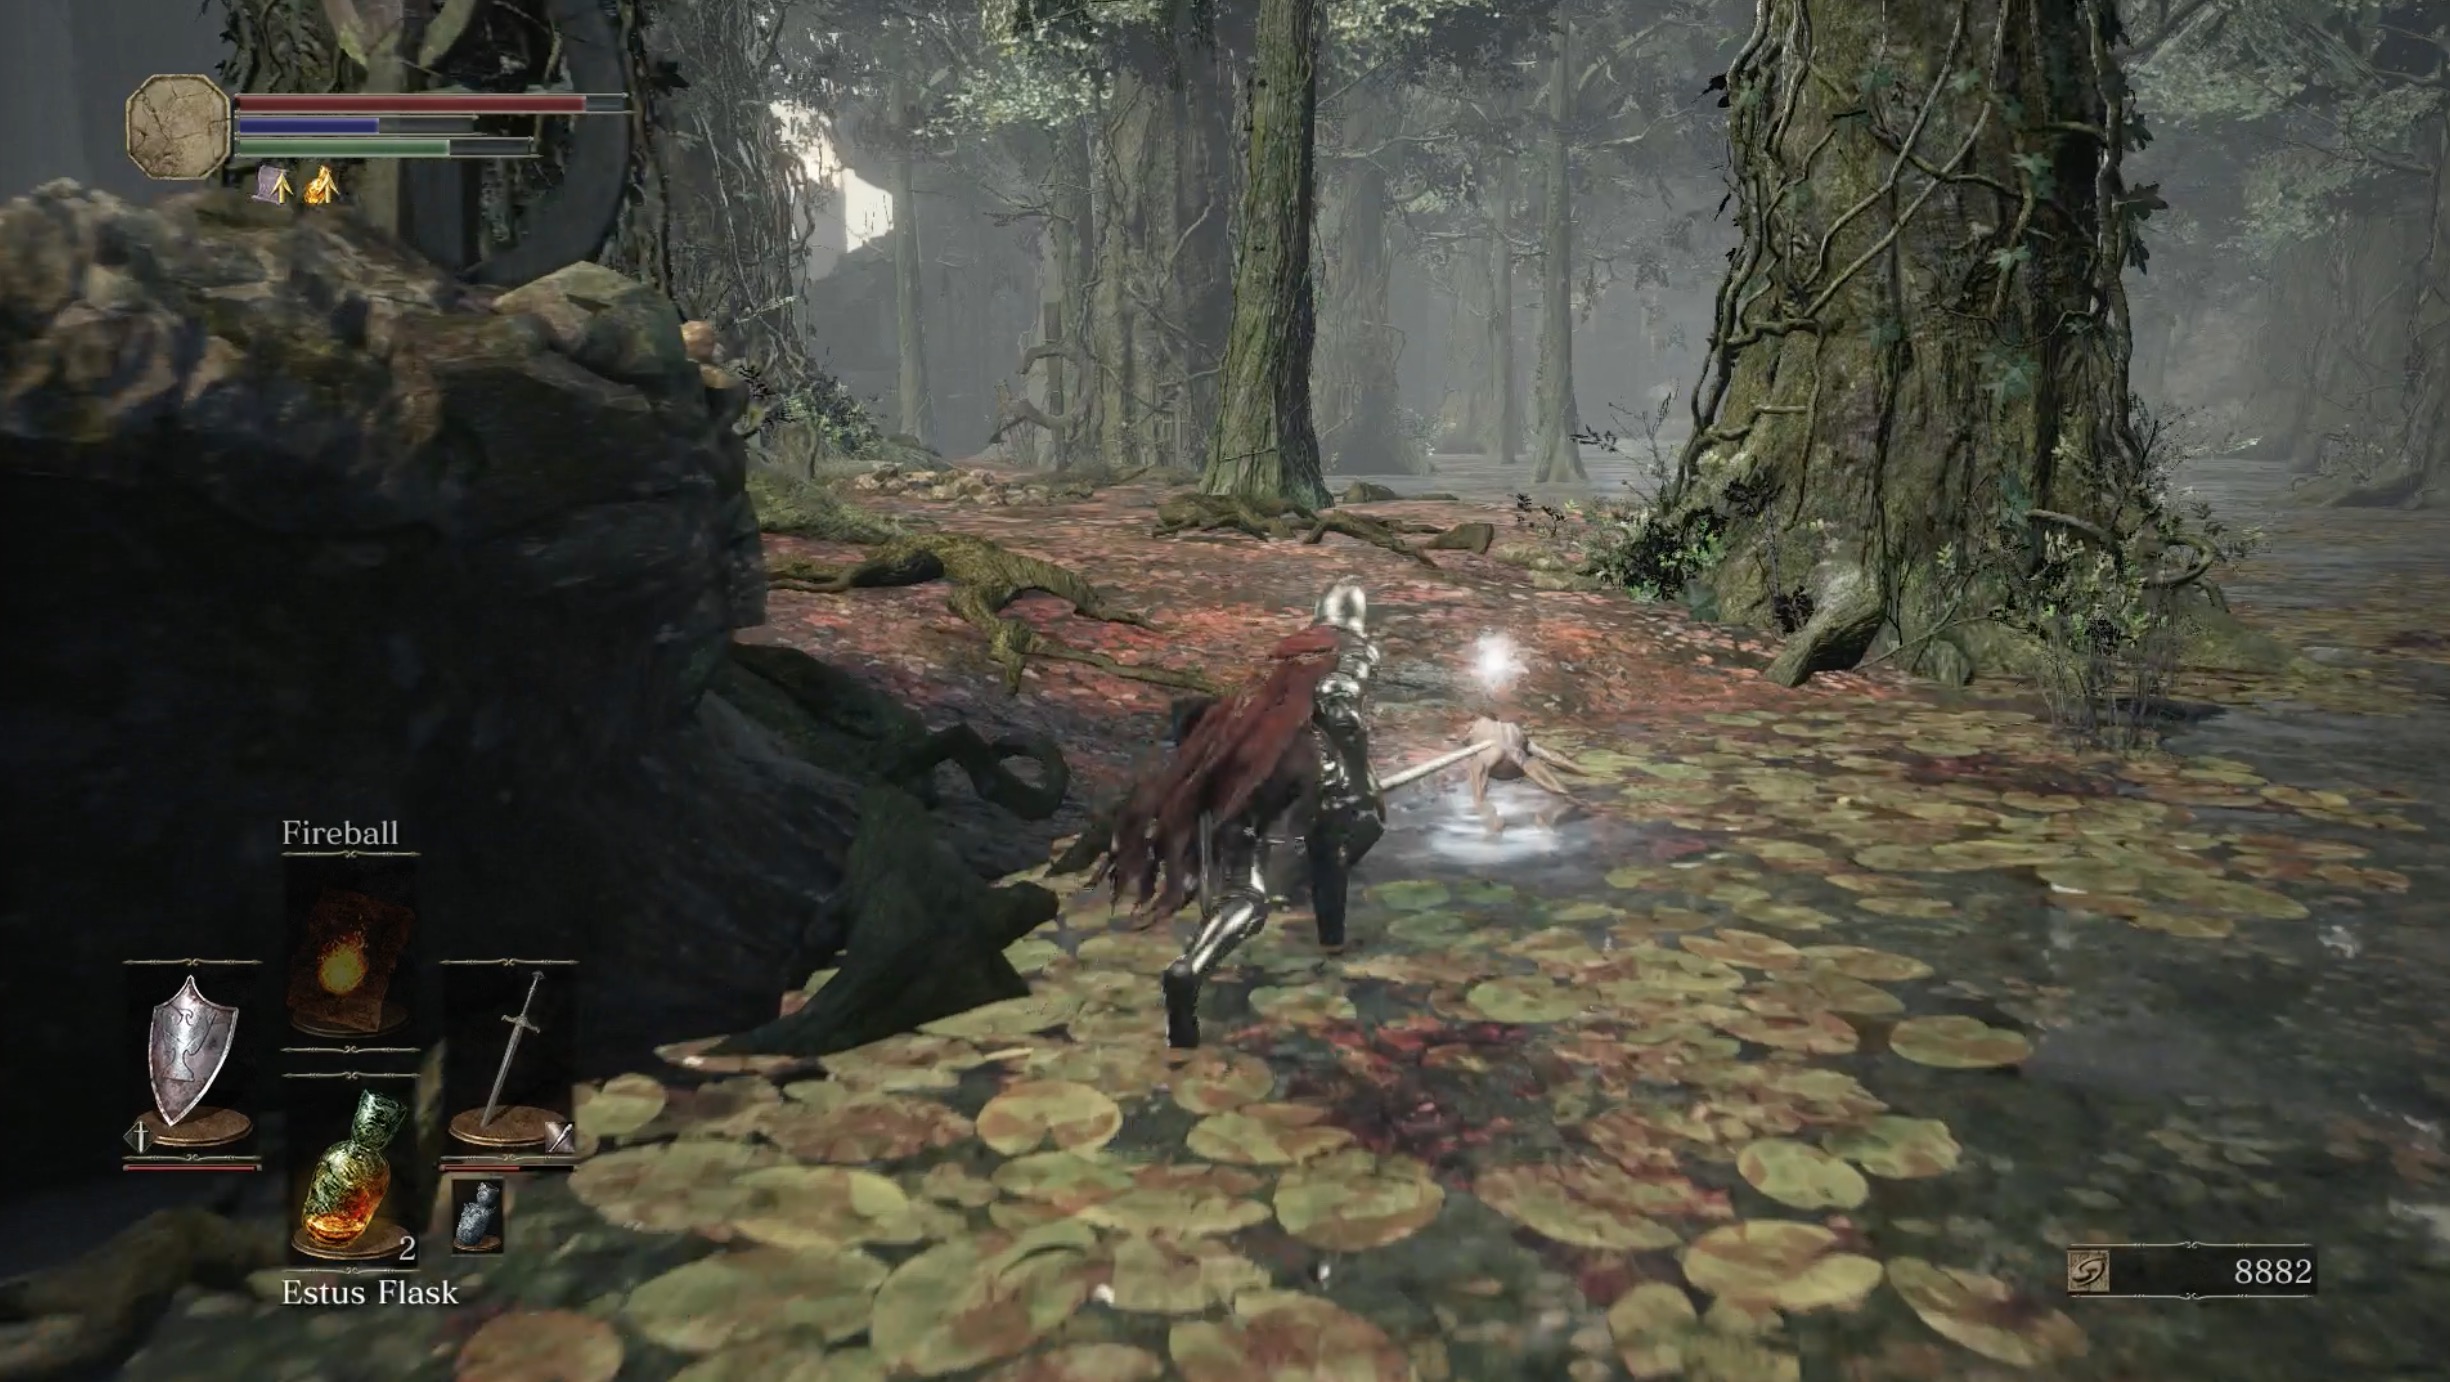
Stand at the bonfire overlooking the Great Crab in the swamp. Your next destination is the far northeast corner of the swamp. Walk to your right, hop off of the ledge behind the crab and make your way across the water heading northeast.
You'll eventually begin to see land again. That's where you want to be. Keep your guard up, and kill any Poisonhorn Bugs you encounter along the way. There will be a wall to your right and a door in front of you.
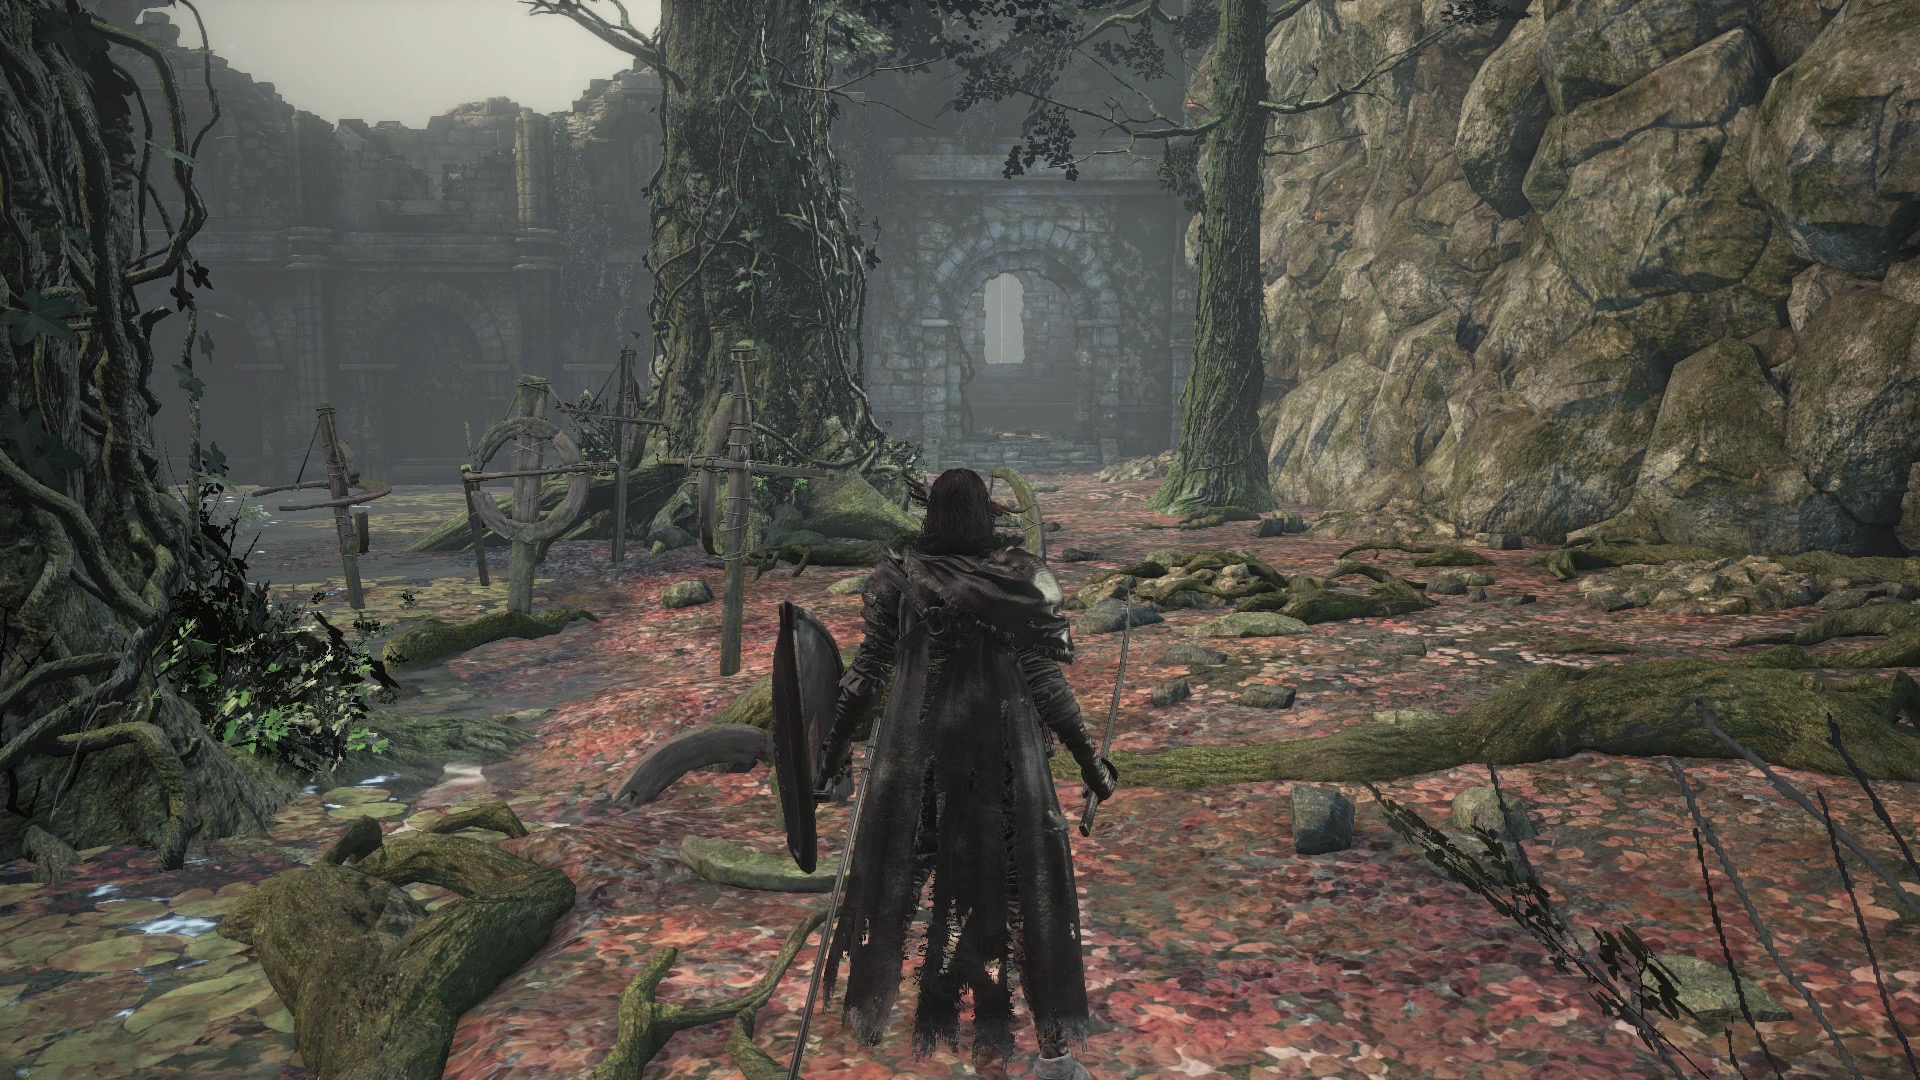
Keep your guard up and prepare to fight a Lycanthrope and a Poisonhorn Bug, which you can't see as you walk because of the tree on your right. Defeat them and enter the door.
To the right is a locked door that you can't open until you're near the end of Farron Keep, which is the next area.
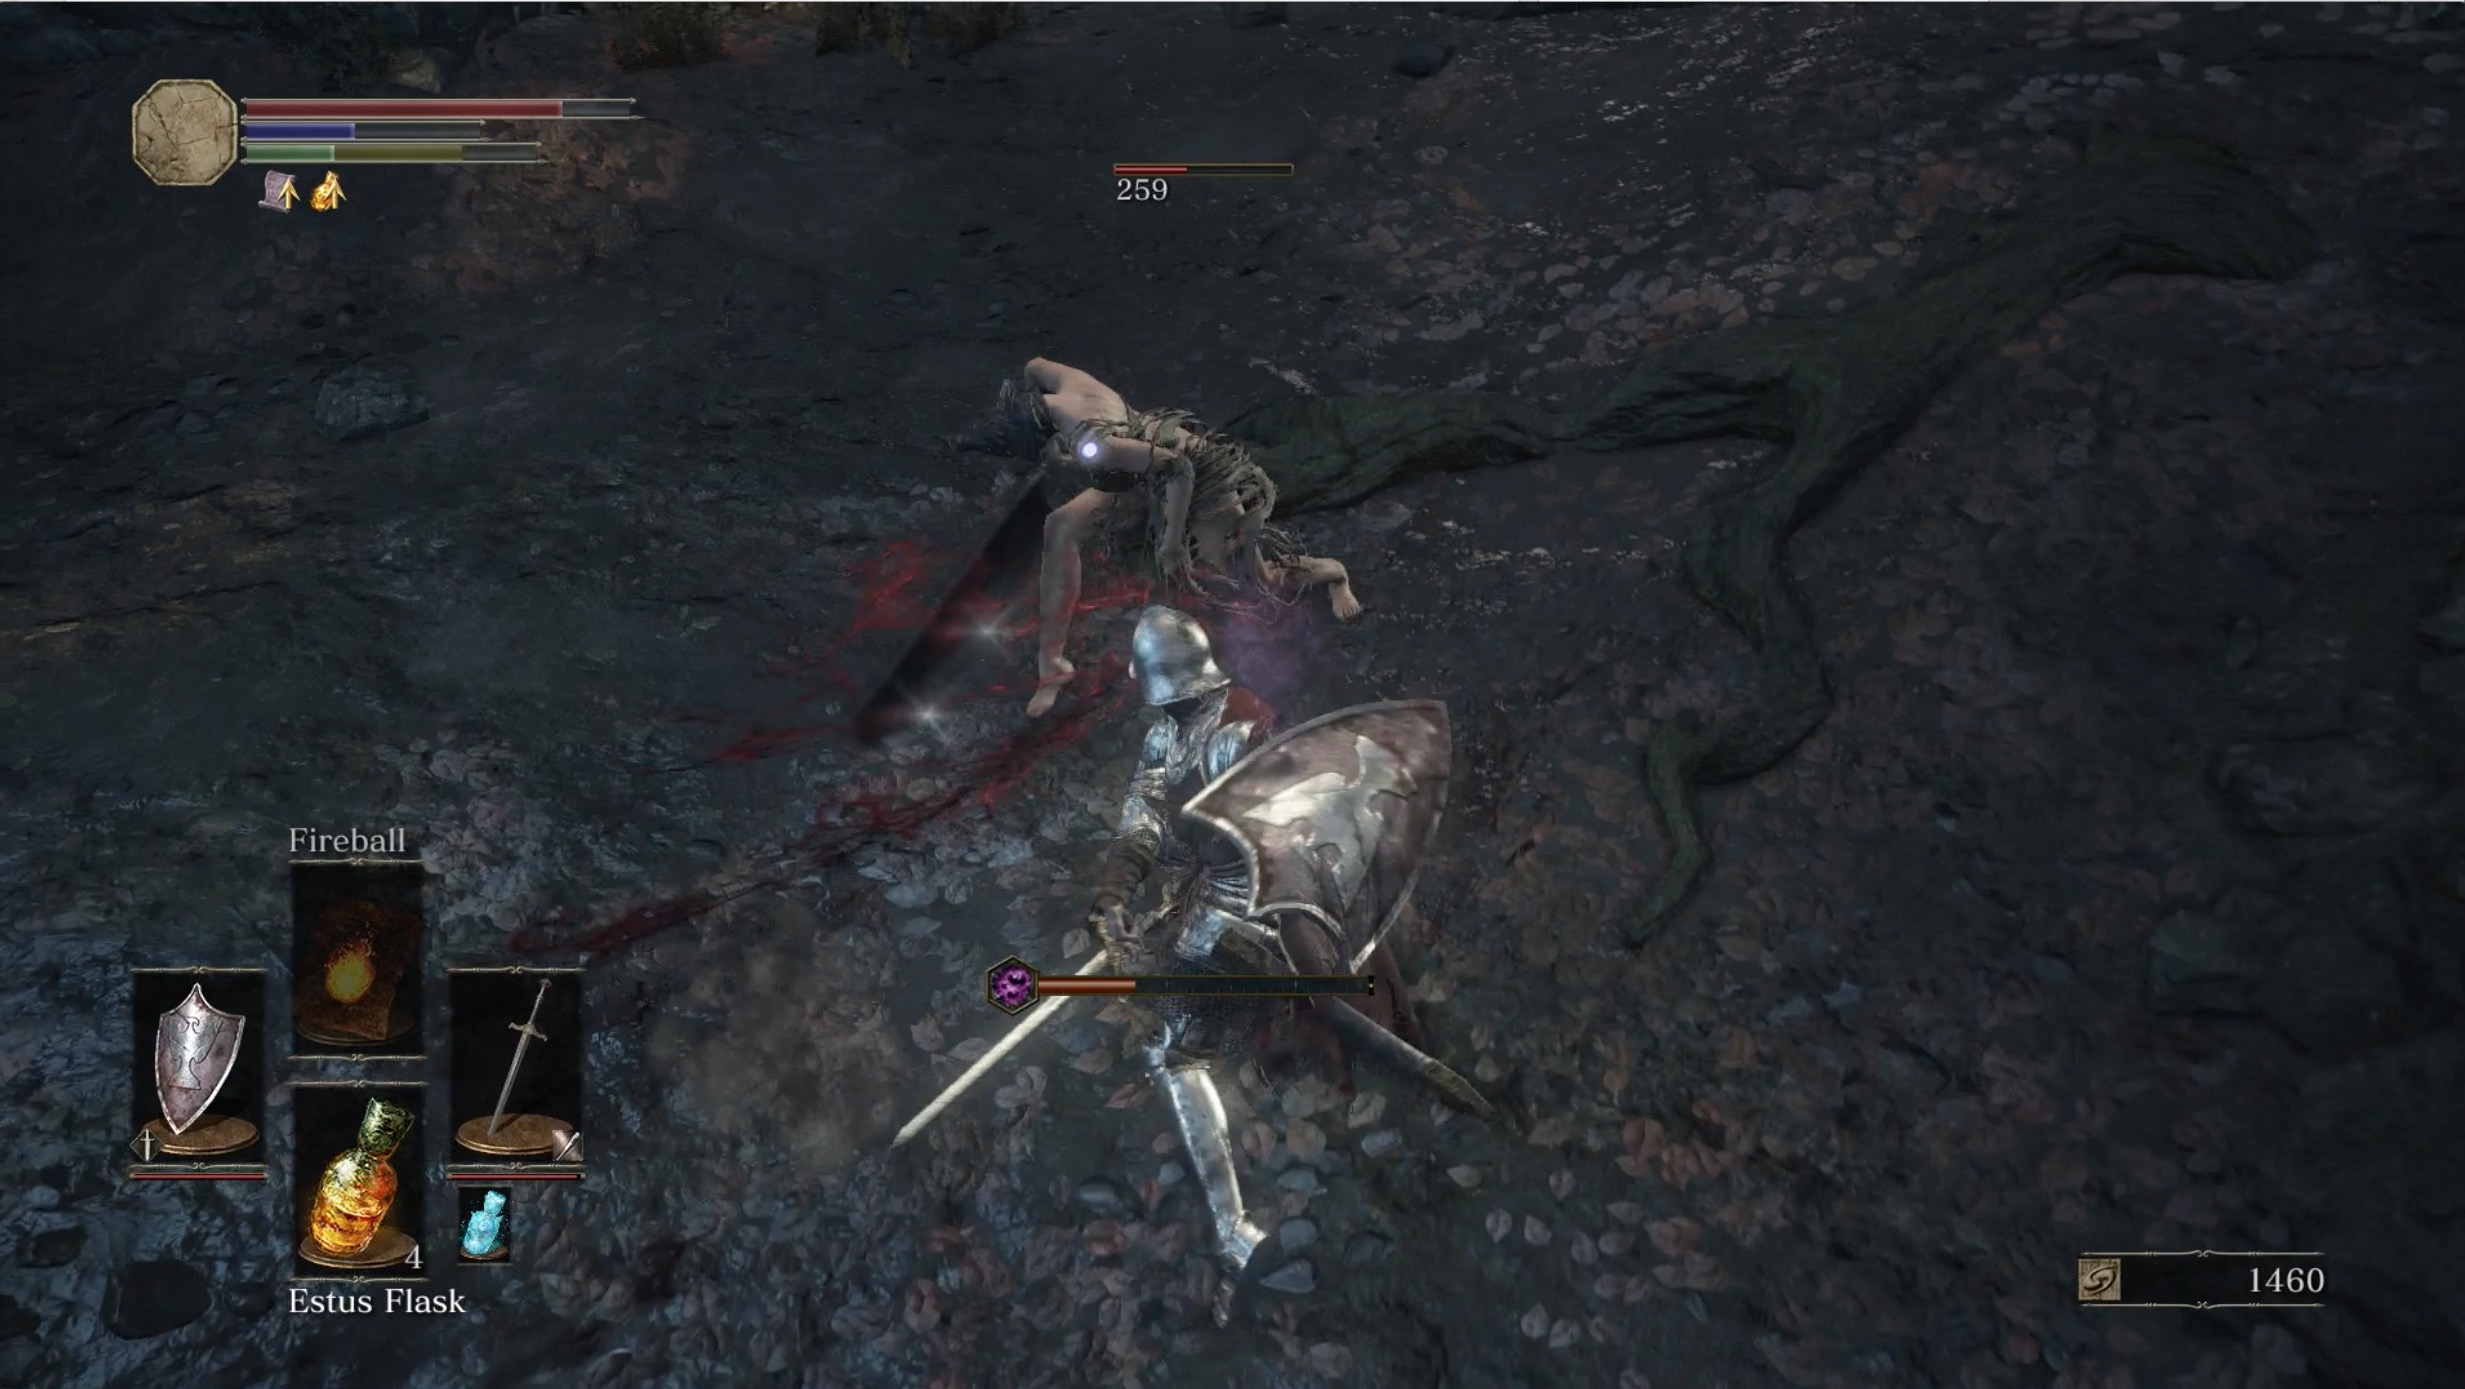
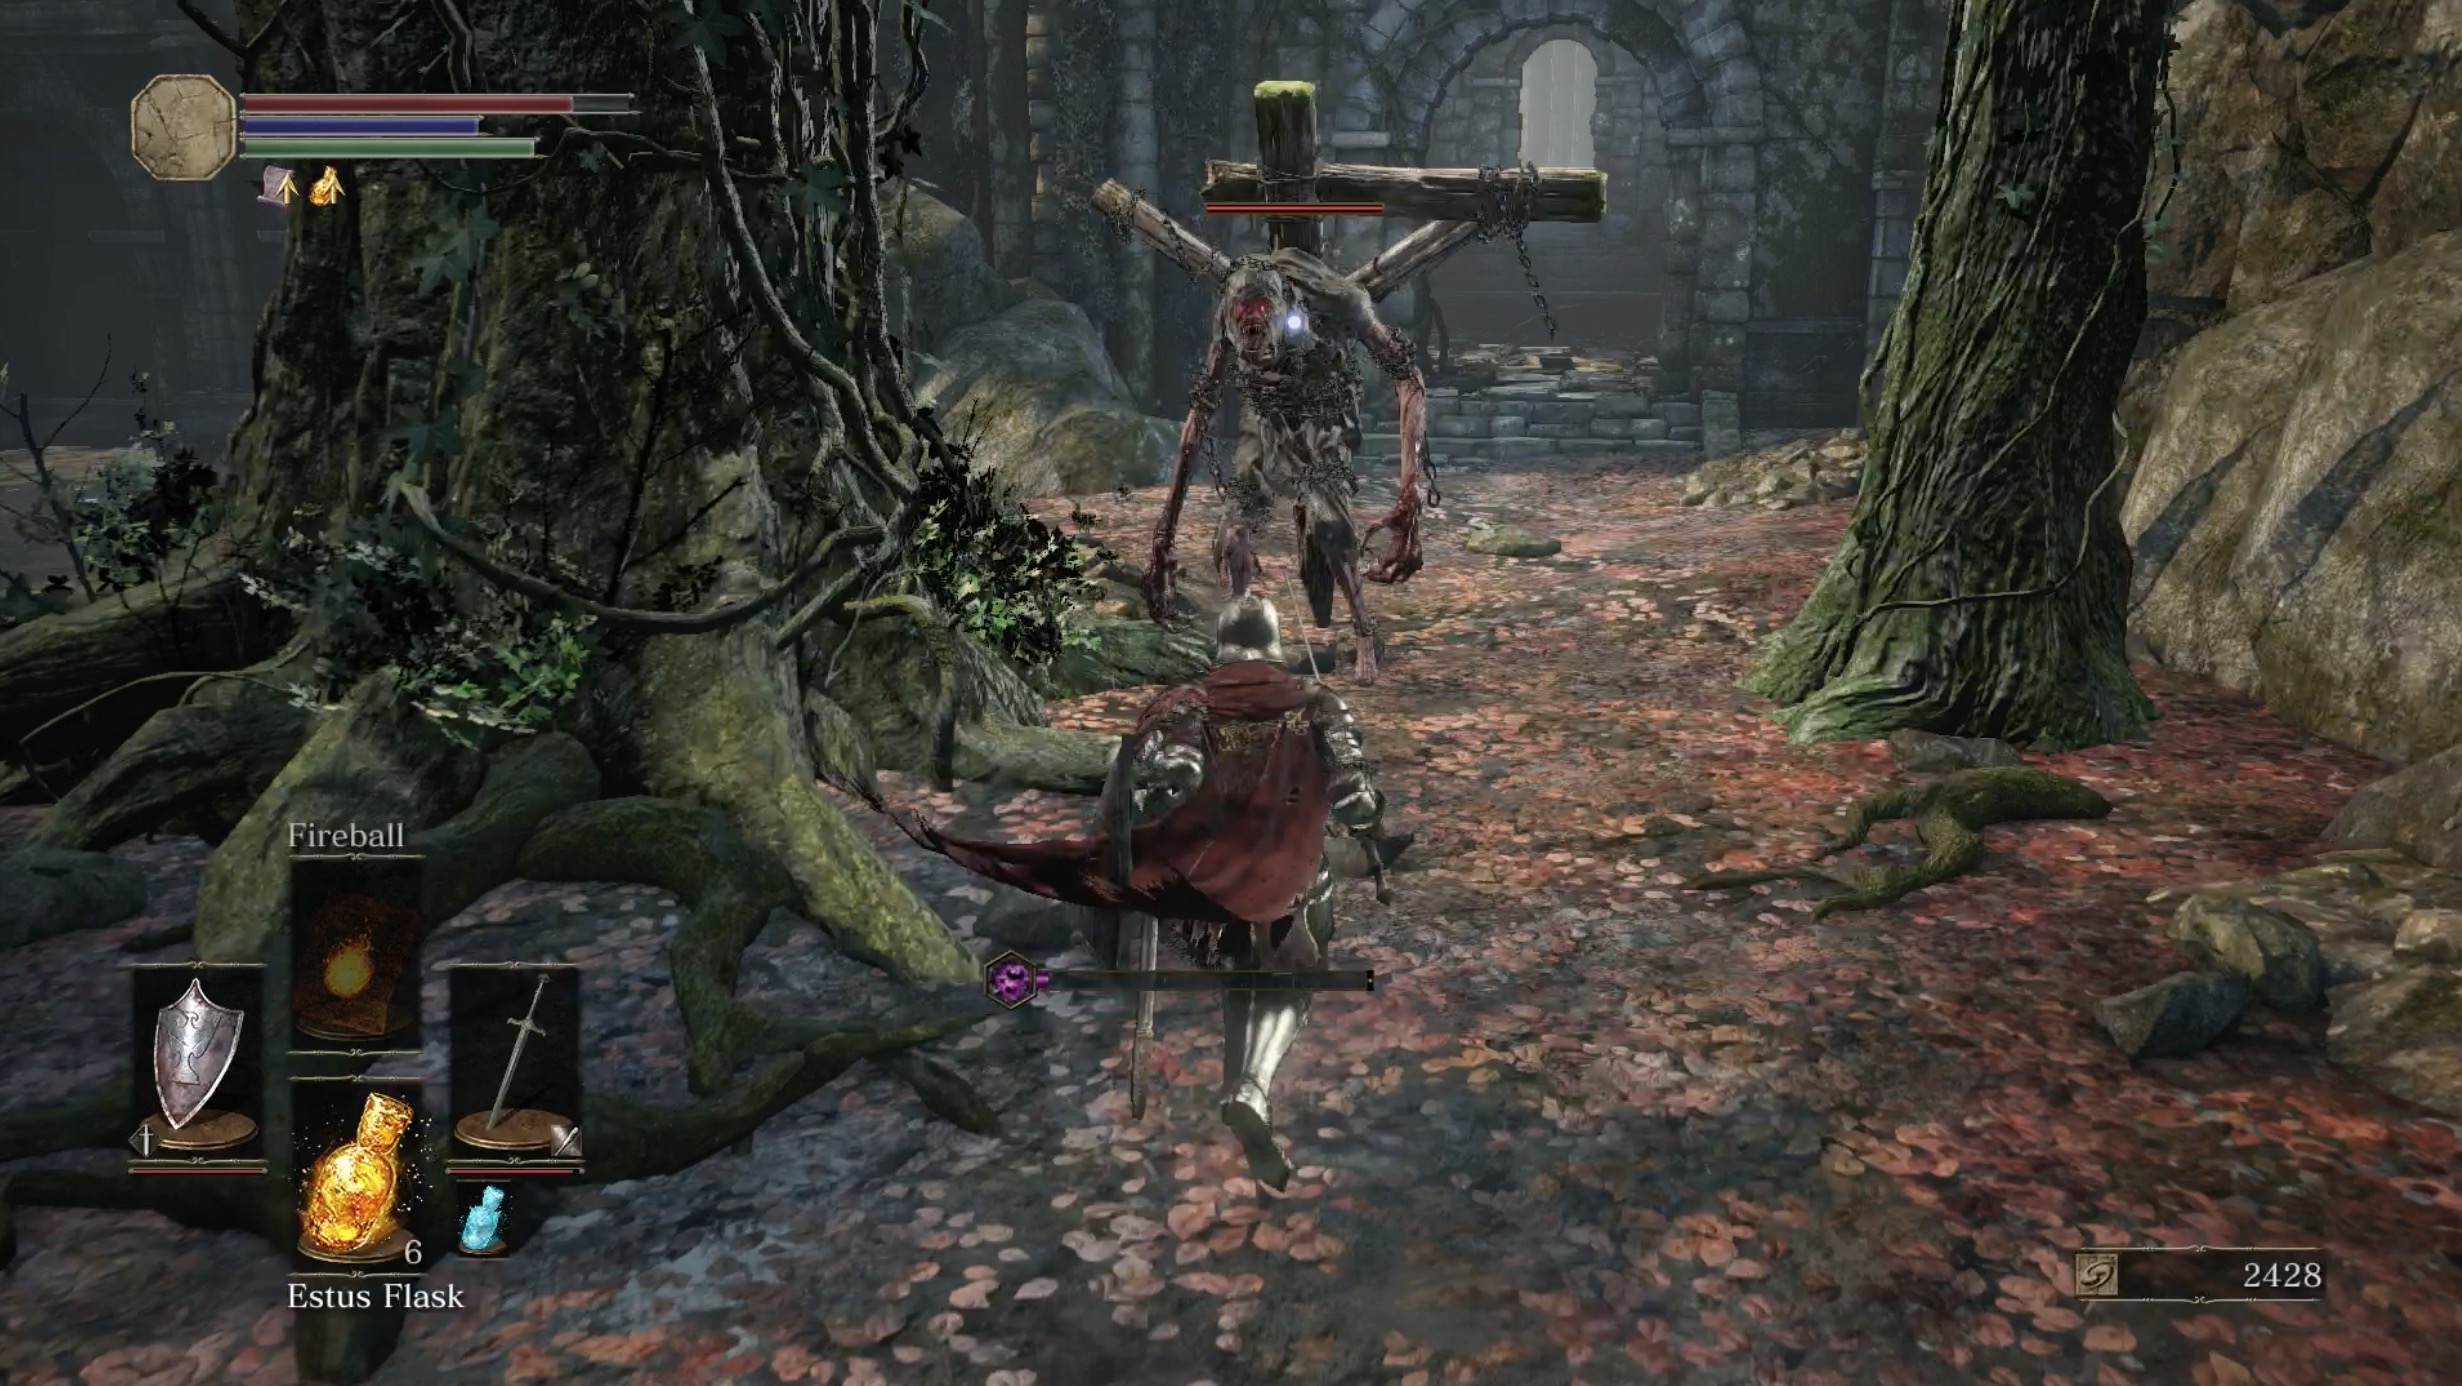
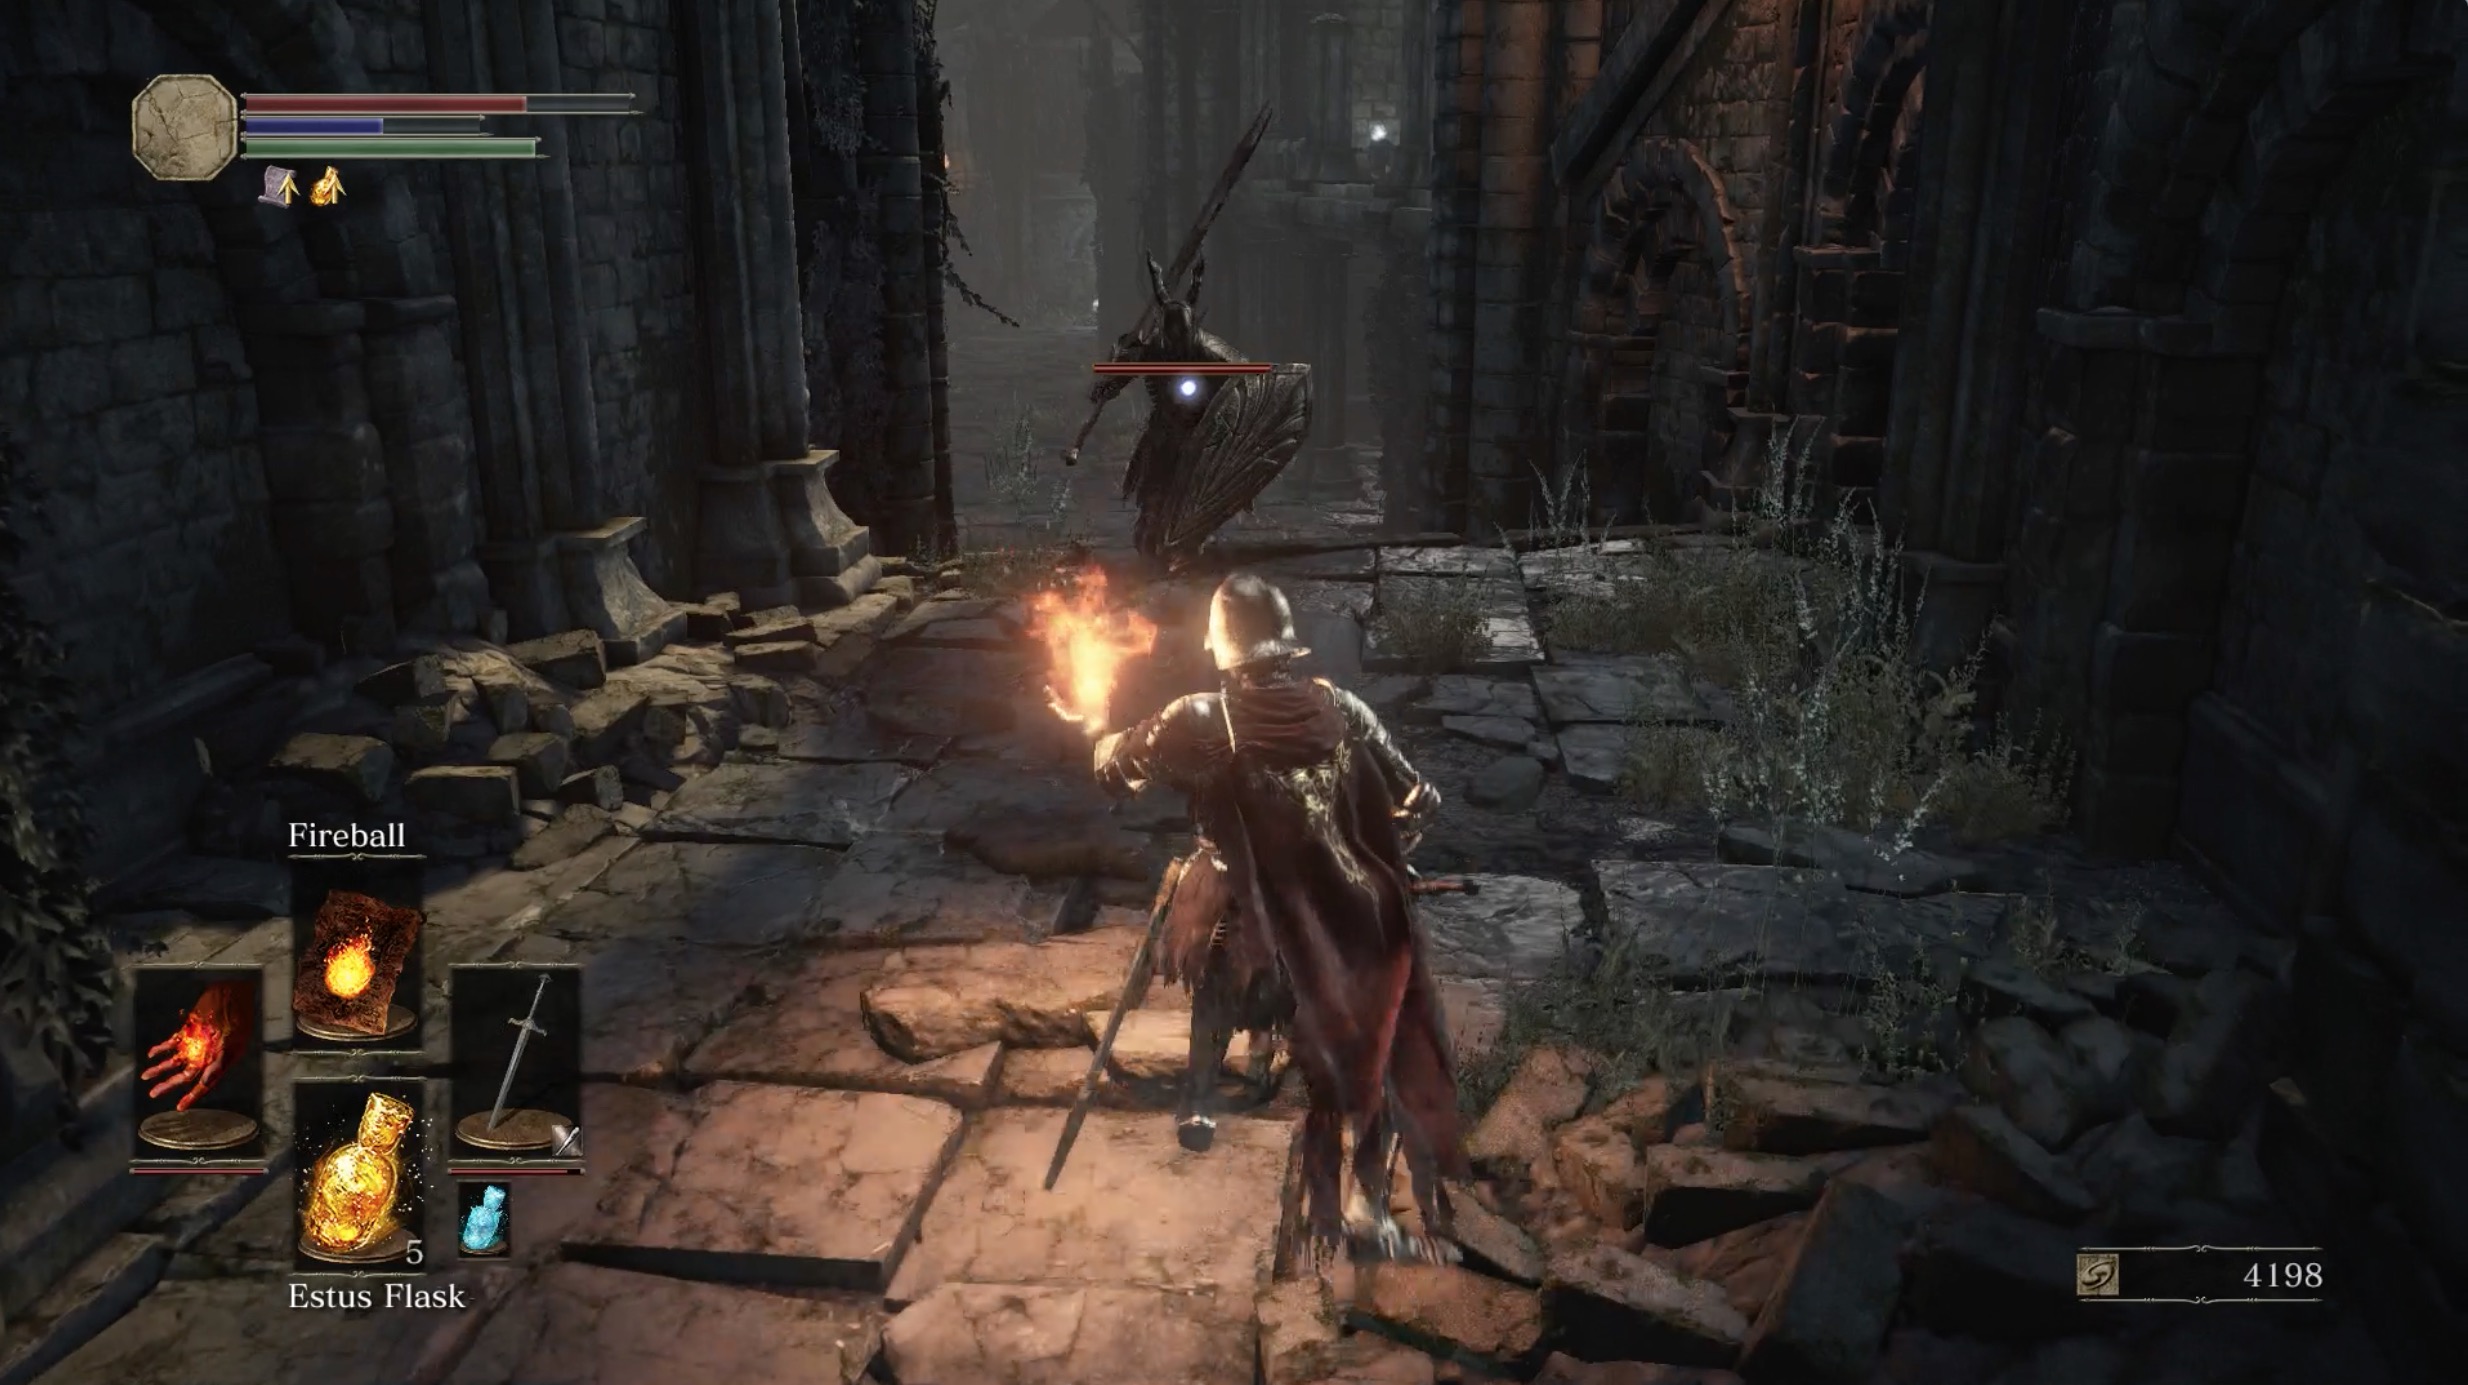
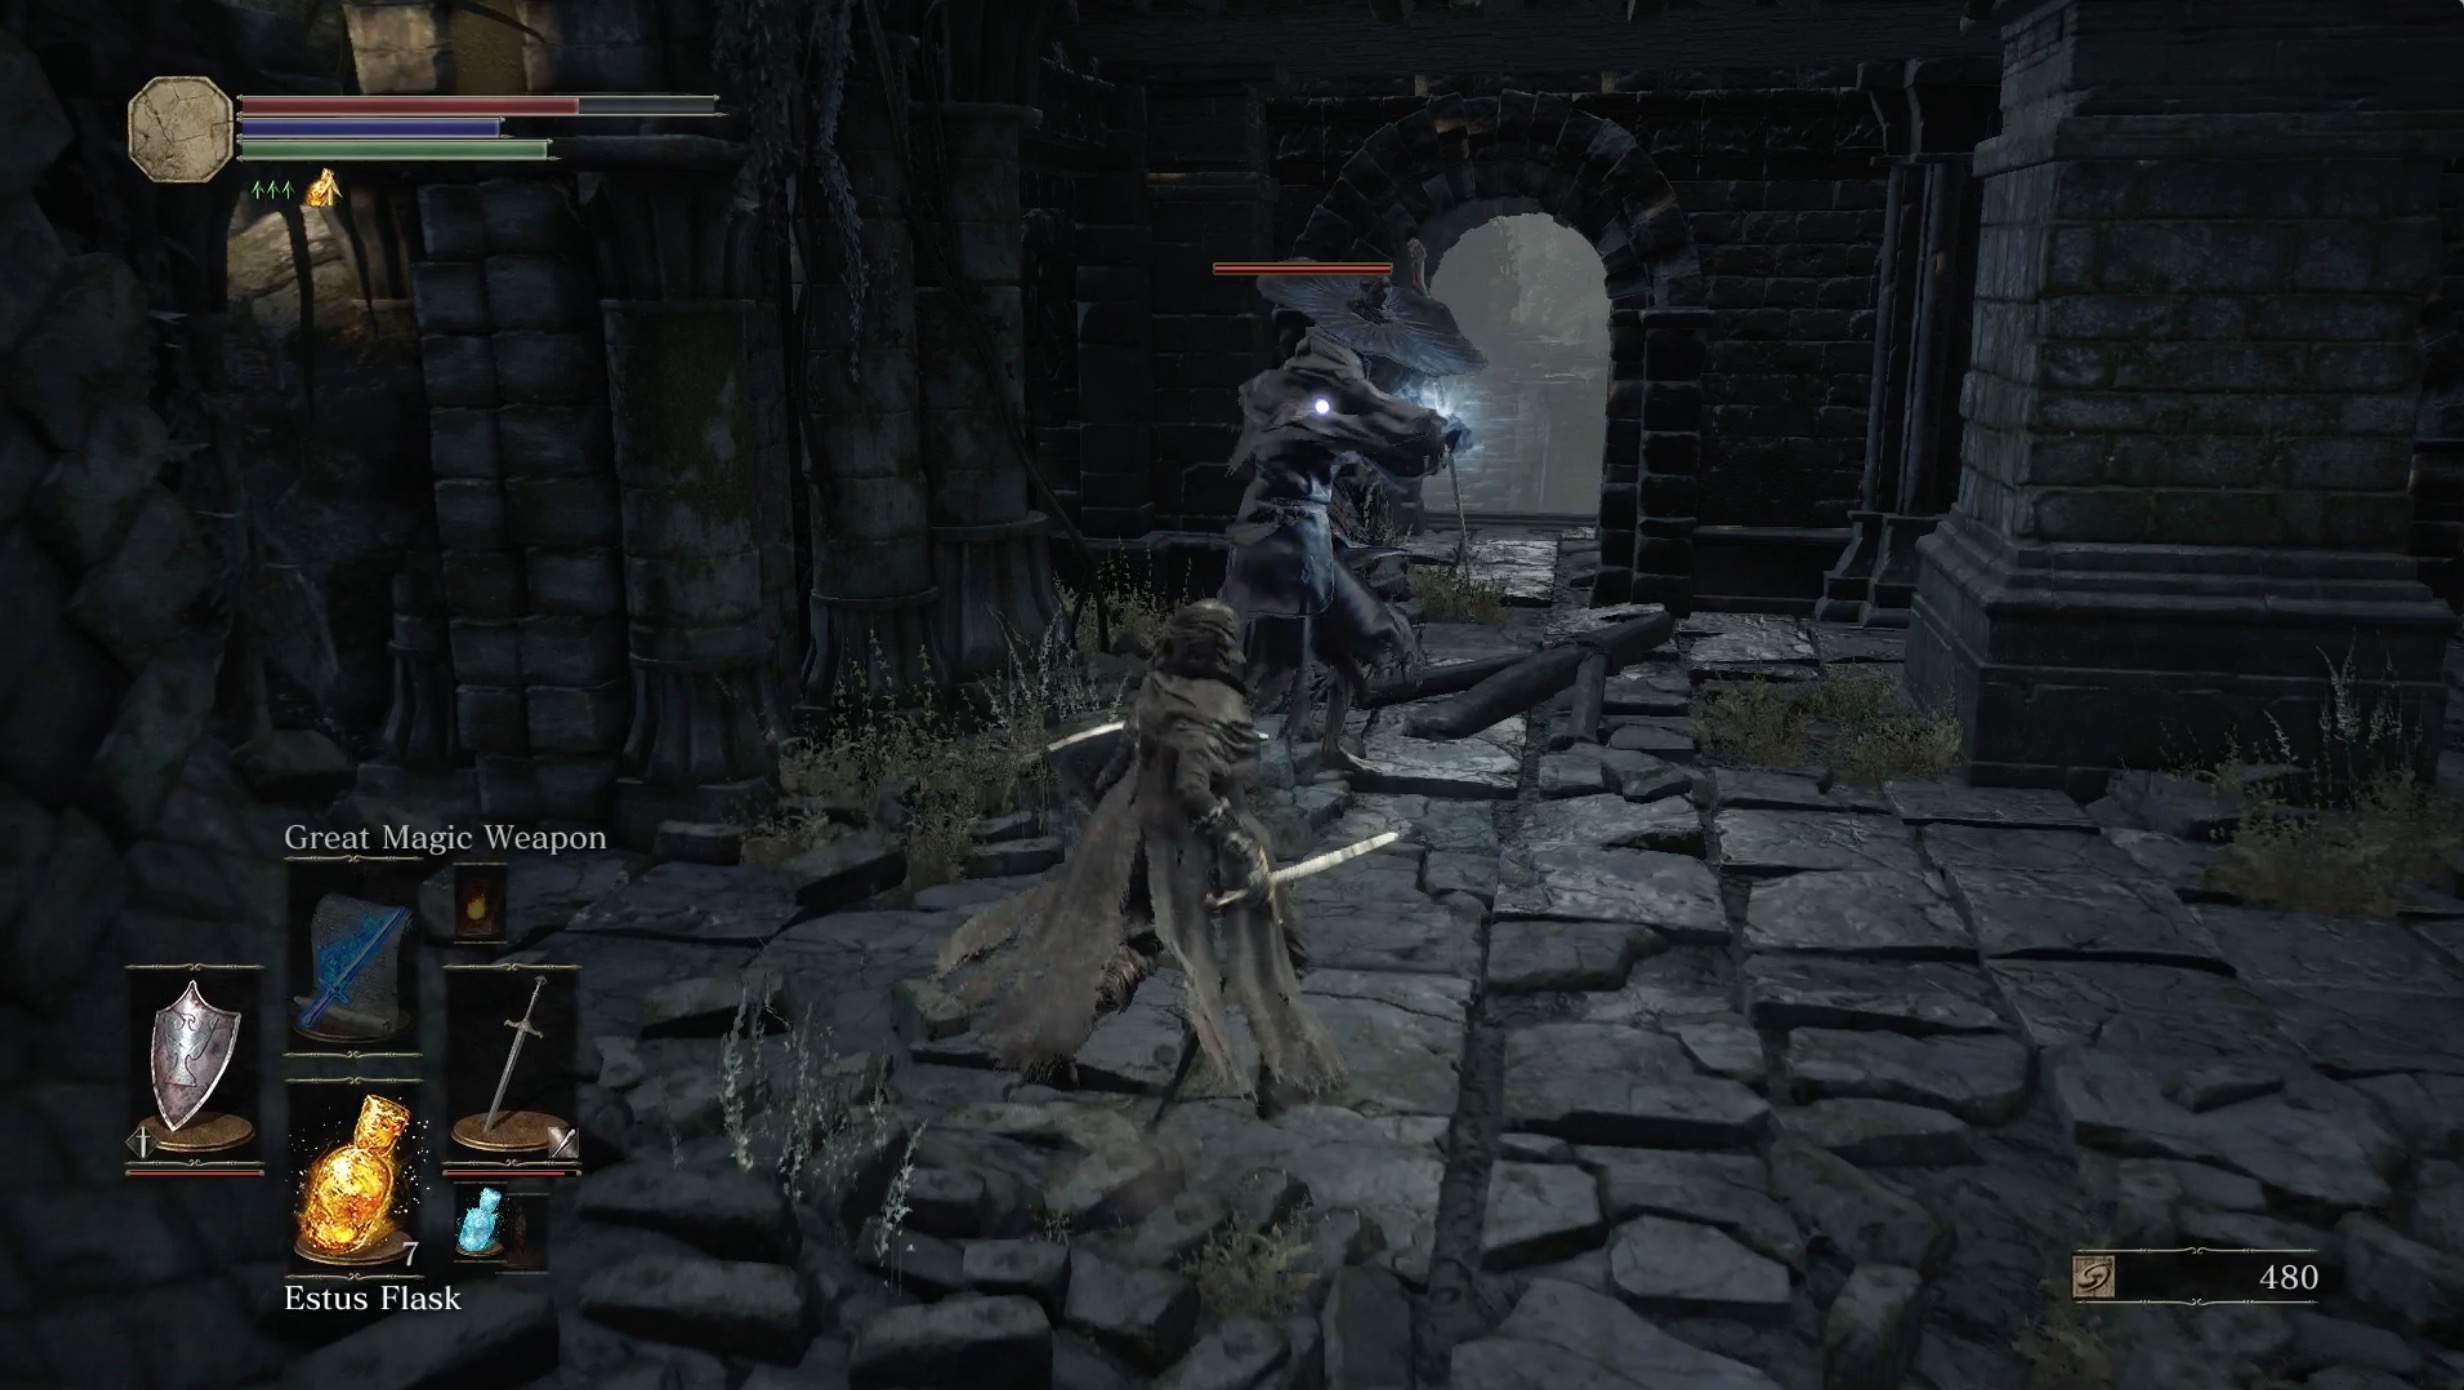
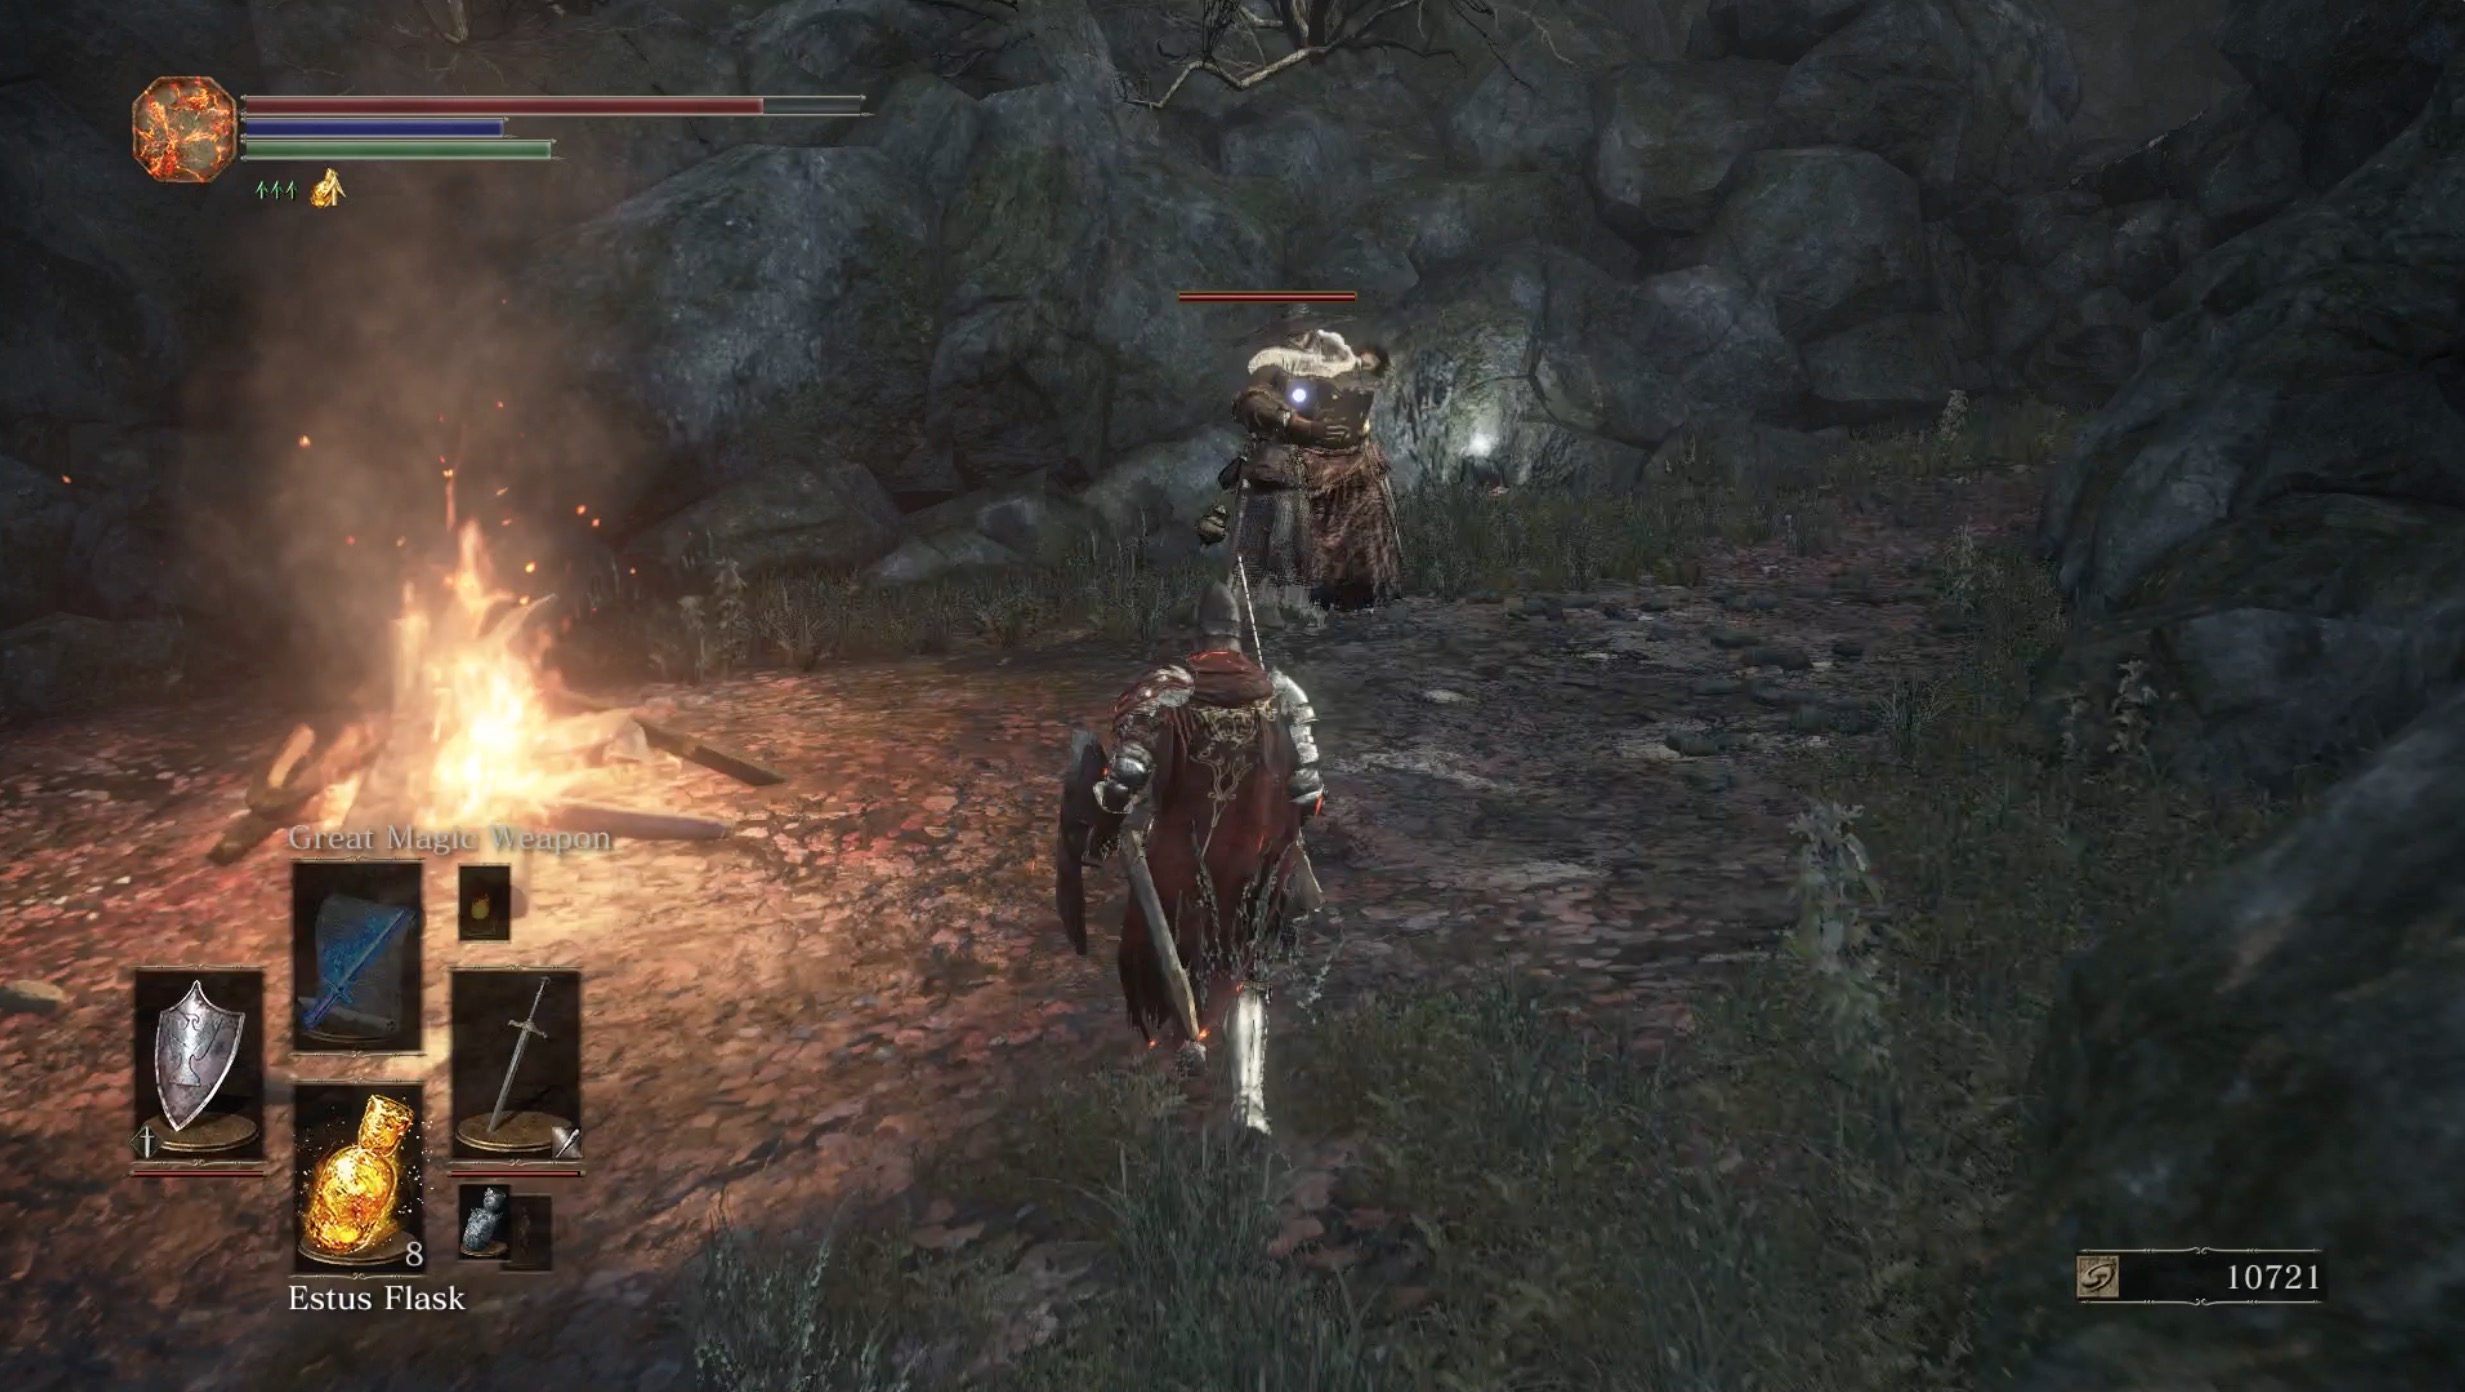
To the left is a Black Knight. There's also a balcony you can use to sneak around him. Before drop down and collect the items he's guarding, pillage the corpse for the Sellsword Armor. You'll have to face him on the way out, unless you use a Homeward Bone.
Sneaking past or killing the Black Knight will give you access to the Ember and the Farron Coal he was guarding. He has the potential to drop the Black Knight Greatsword, too..
If you choose to fight him up close, the key is to sidestep to bait an attack, creating an opening for you to counter. The knight is also susceptible to parries, provided you get your timing right. Aside from gaining tactical experience to defeat future knights and a whole lot of souls,
If you're low on estus, you can return to the Crucifixion Bonfire, going out the way you came in, turning right and heading across the swamp. From the bonfire, walk to the left of the large tree next to the bonfire, hop off the ledge and into the swamp. Keep the wall on your left, and you'll eventually see dry land ahead.
You will need to take on a pair of stout, dual-wielding Unkindled at a staircase. As a pair, this fight is obviously as test in multitasking, especially since they're adept in dodges and combos. But do your best not to fight them as a pair. As soon as one attack, back away, which will convince the lone enemy to follow you. In either case, the key to winning is patience and prioritizing defense. They're aggressive enough that their attacks will surely present openings.
When they're defeated, grab the Fallen Knight Armor where the dry land and the swamp water meet and Large Soul of an Unknown Traveler to the left when facing the staircase. Head up the staircase and into the building they were protecting. Take the ladder down, and light the bonfire just outside of the next area, Farron Keep. Rest and warp back to the Crucifixion Woods bonfire.
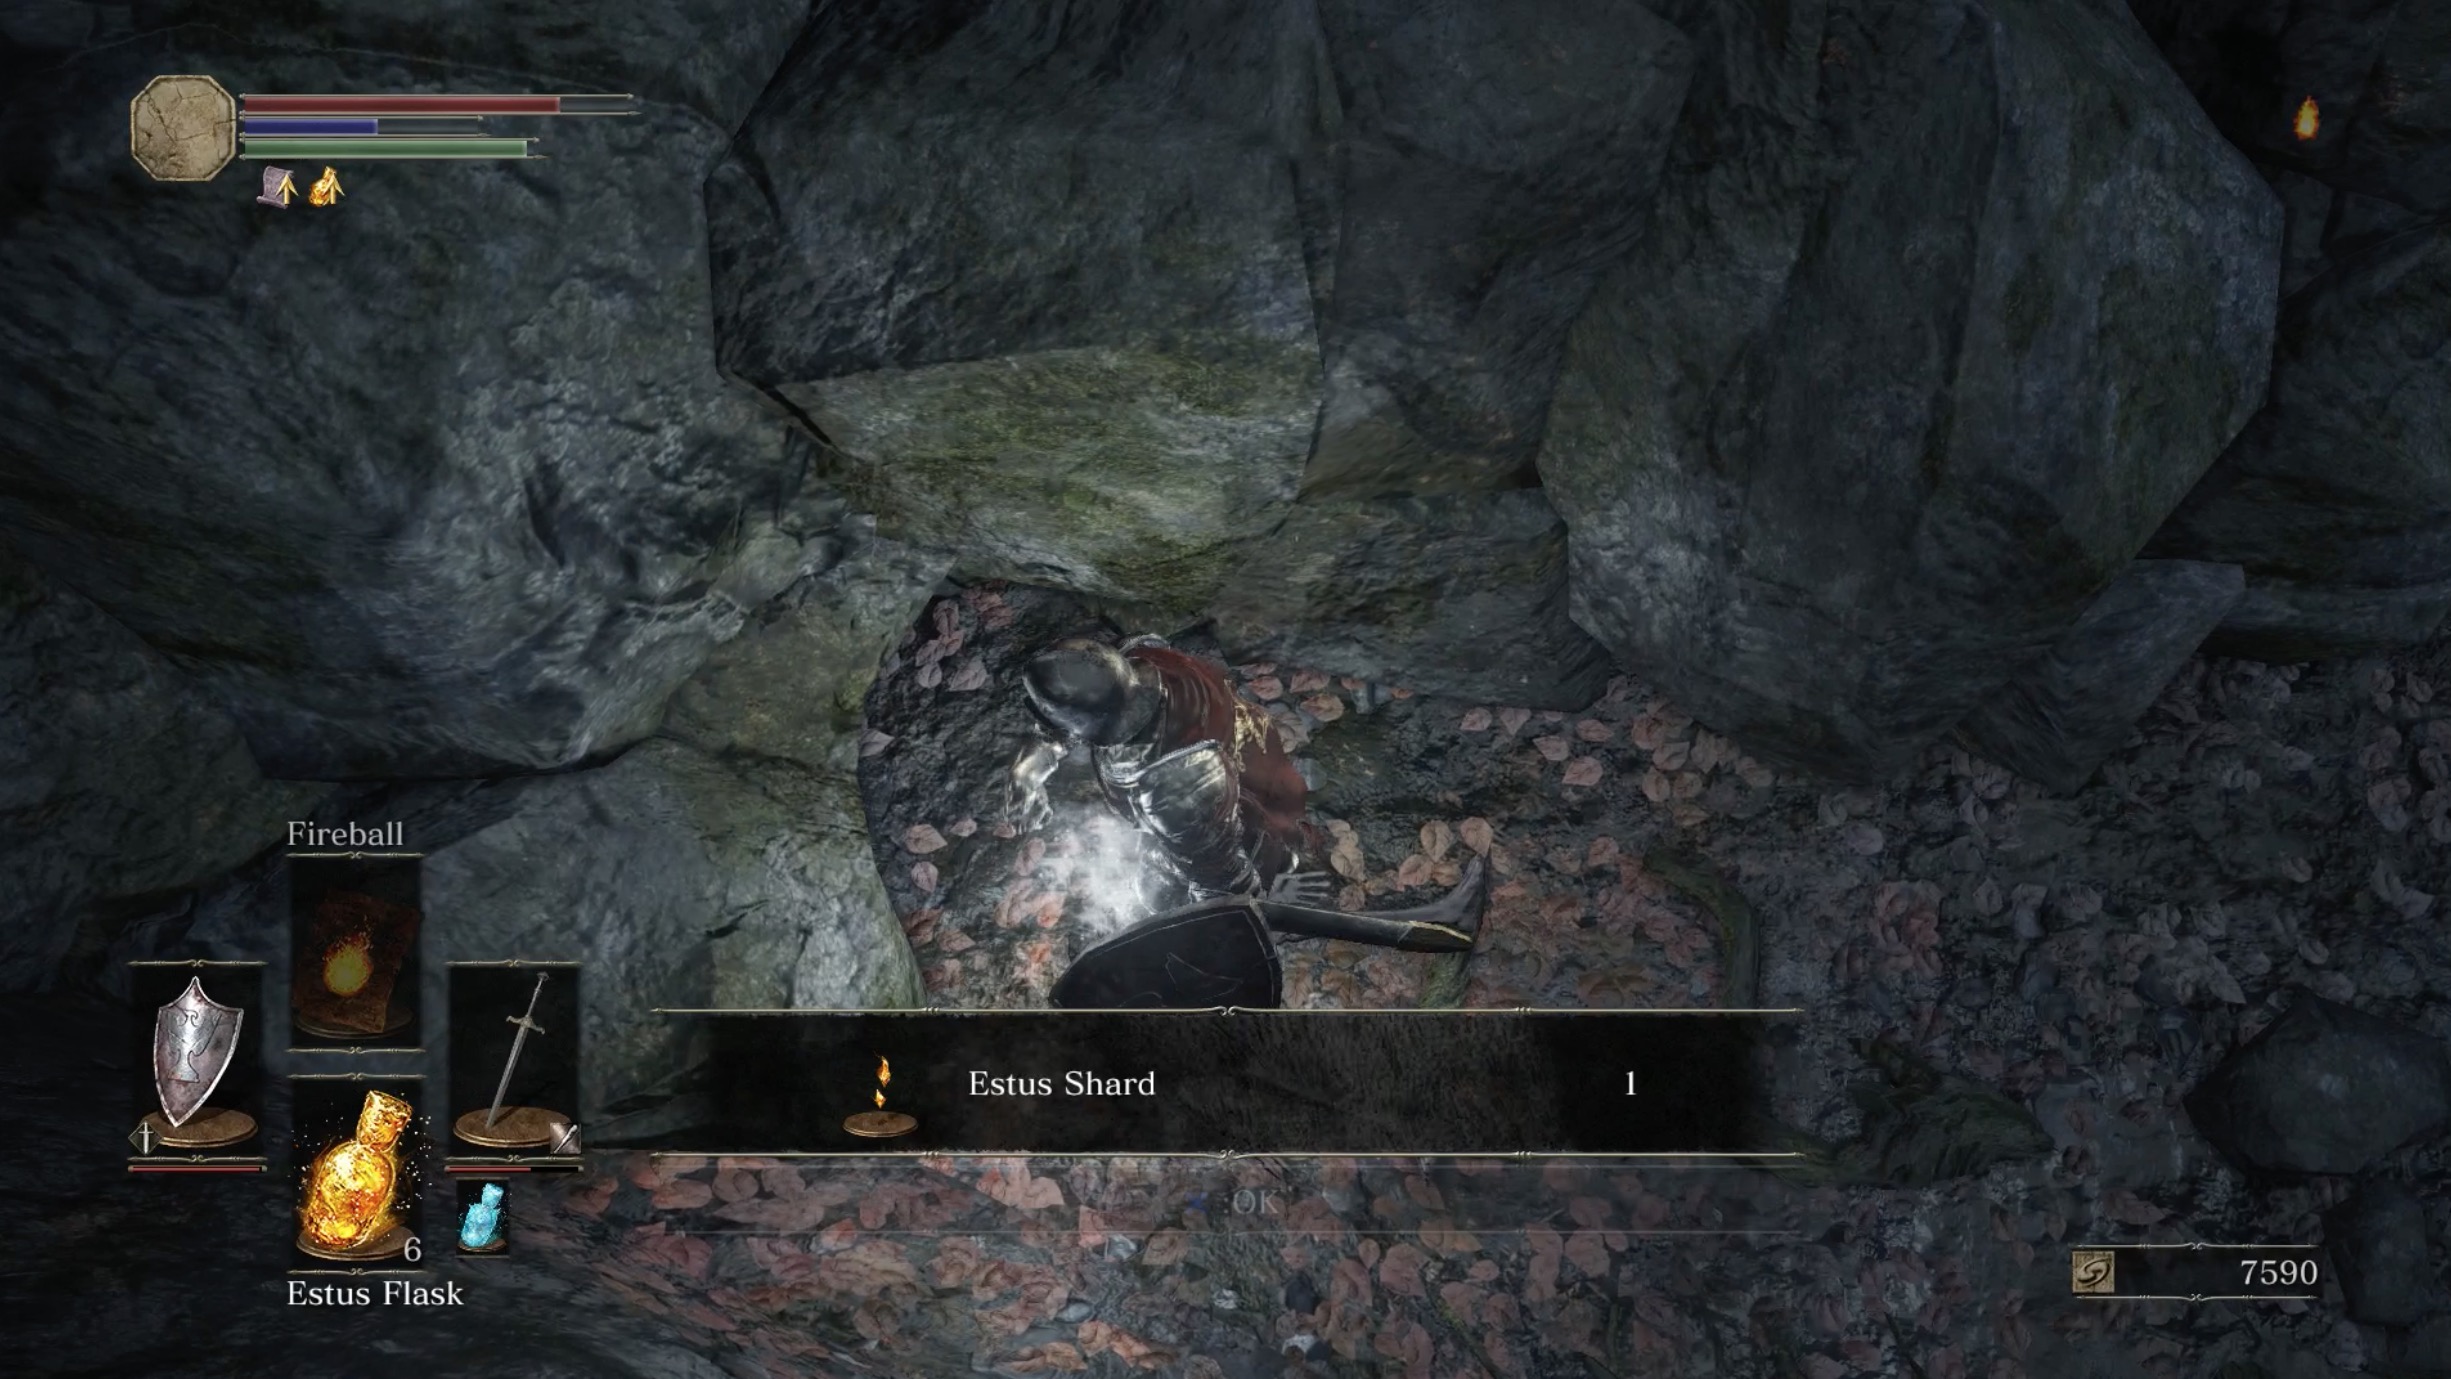
From the bonfire, turn your back to the swamp and head toward the building in the distance. Walk left along its outer wall, killing enemies along the way. Hop down to and collect an Estus Shard. There is also an Ember by a large campfire. The path out will lead you on a path out and back to the bonfire, but you'll have to fight two Lycanthropes first.
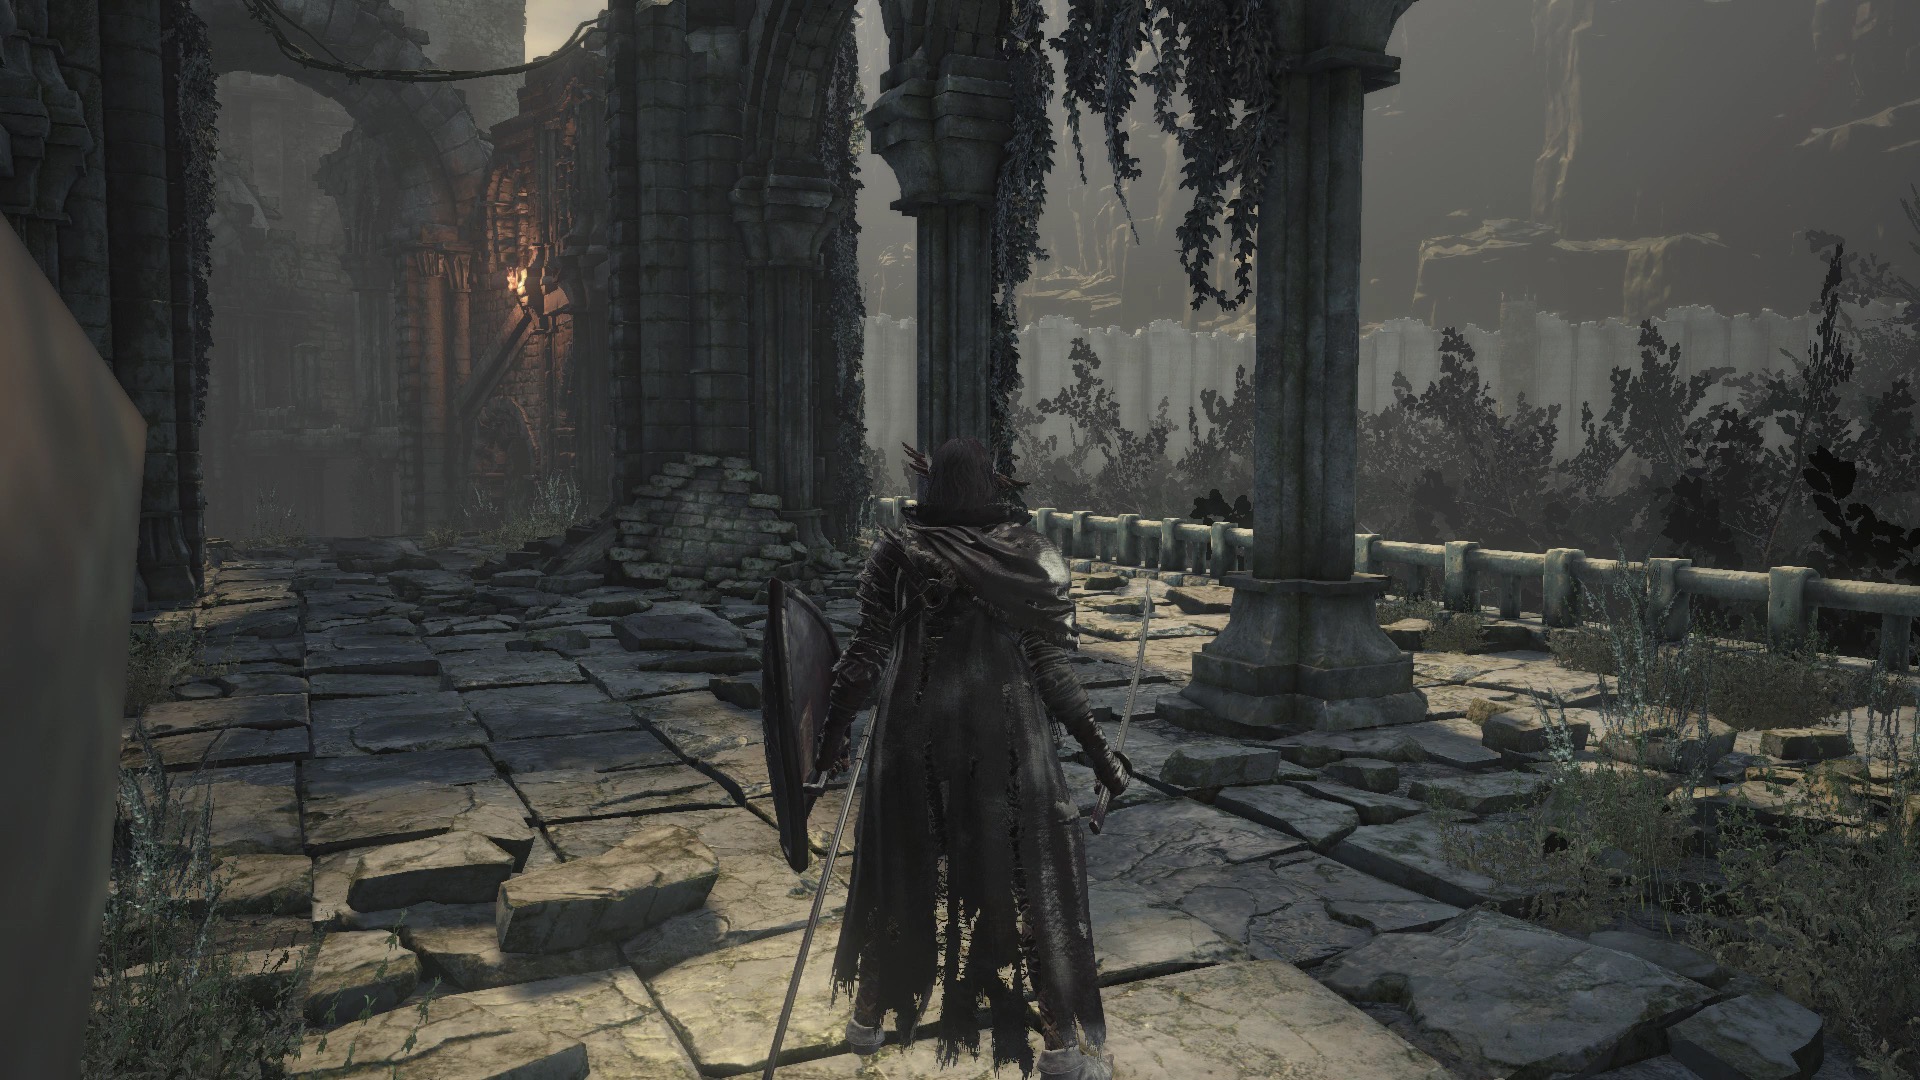
On the outer wall that faces the bonfire, there's gaping hole. Enter, and you'll find a group of Hollows as well as a lantern bearer, so be sure to take out that guy first. Look for a Hertic's Staff at one of the room's corners.
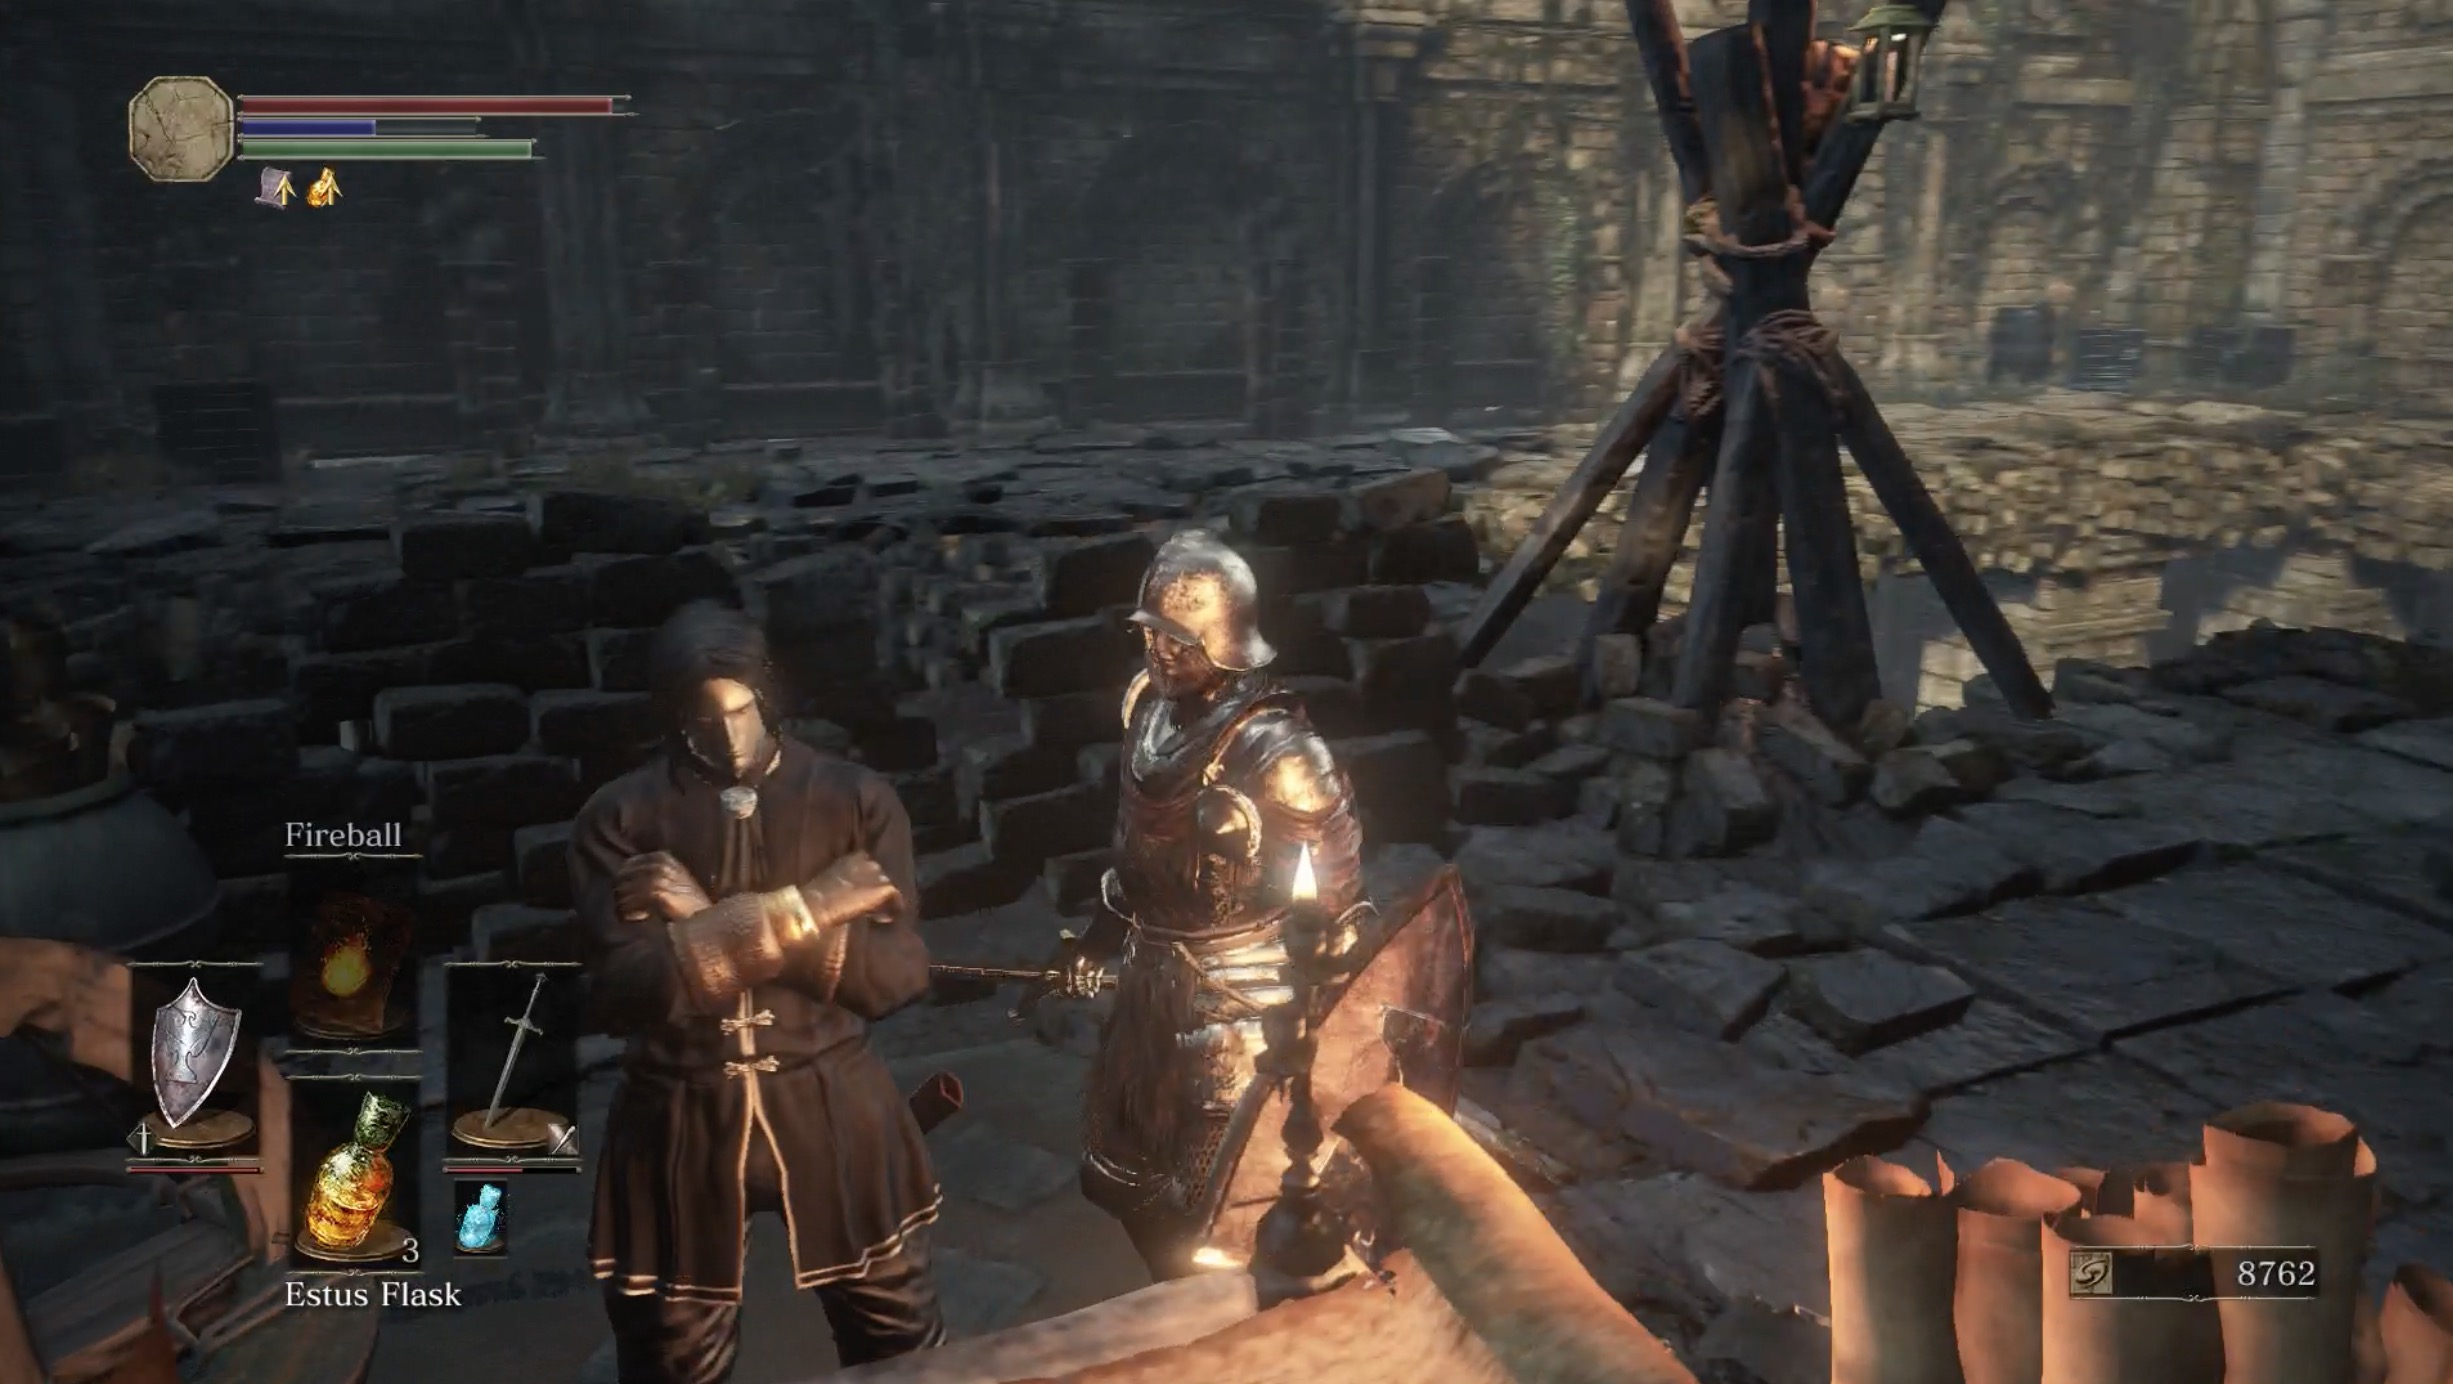
Walk up the stairs, over the bridge and defeat the enemy with the shield in the next room. Take the door to the left of the door where you entered and follow the right wall to a staircase. In the room you enter, you'll find another NPC, Orbeck of Vinheim. He's best spoken to when your Intelligence is at least 10. This will transport him to Firelink Shrine as one of your magic teachers. You will also get a Young Dragon Ring and a Slumbering Dragon Ring in the process. He will remain loyal provided you give him magic scrolls on a regular basis. Kill four bosses without giving him a scroll, and he'll disappear.
After talking to Orbeck, retrace your steps and, when you enter the room where you defeated the enemy with the shield, turn left.
The pillared room you enter has a hole between the first and second pillars on your right that drops into a partly flooded room with a Lycanthrope. Drop through and prepare for a fight. If you're not keen on taking it on in this small room, you can take the fight outside. It's worth the time because the room has a Sorcerer Armor set and a Sage Ring.
The best route to the boss is also through the left portion of the keep. If you need health at this point, you can follow the wall to your right to find dry land and rest at the Crucifixion bonfire.
From there, walk to the left of the large tree next to the bonfire, hop off the ledge and into the swamp. Look for a staircase in the distance, and head up there. If you didn't head back to the bonfire, that staircase is outside of the room where you fight the Lycanthrope, on your left.
Ascend the staircase and kill the Hollow in front of you. Turn around in the direction of the door that you entered, and head up the stairs to fight an enemy with a shield and an enemy who'll throw powerful sorceries at you. At the top of the staircase, walk out of the crumbled doorway, turn right, hop off of the ledge, turn around and pillage a corpse for a Ring of Sacrifice.
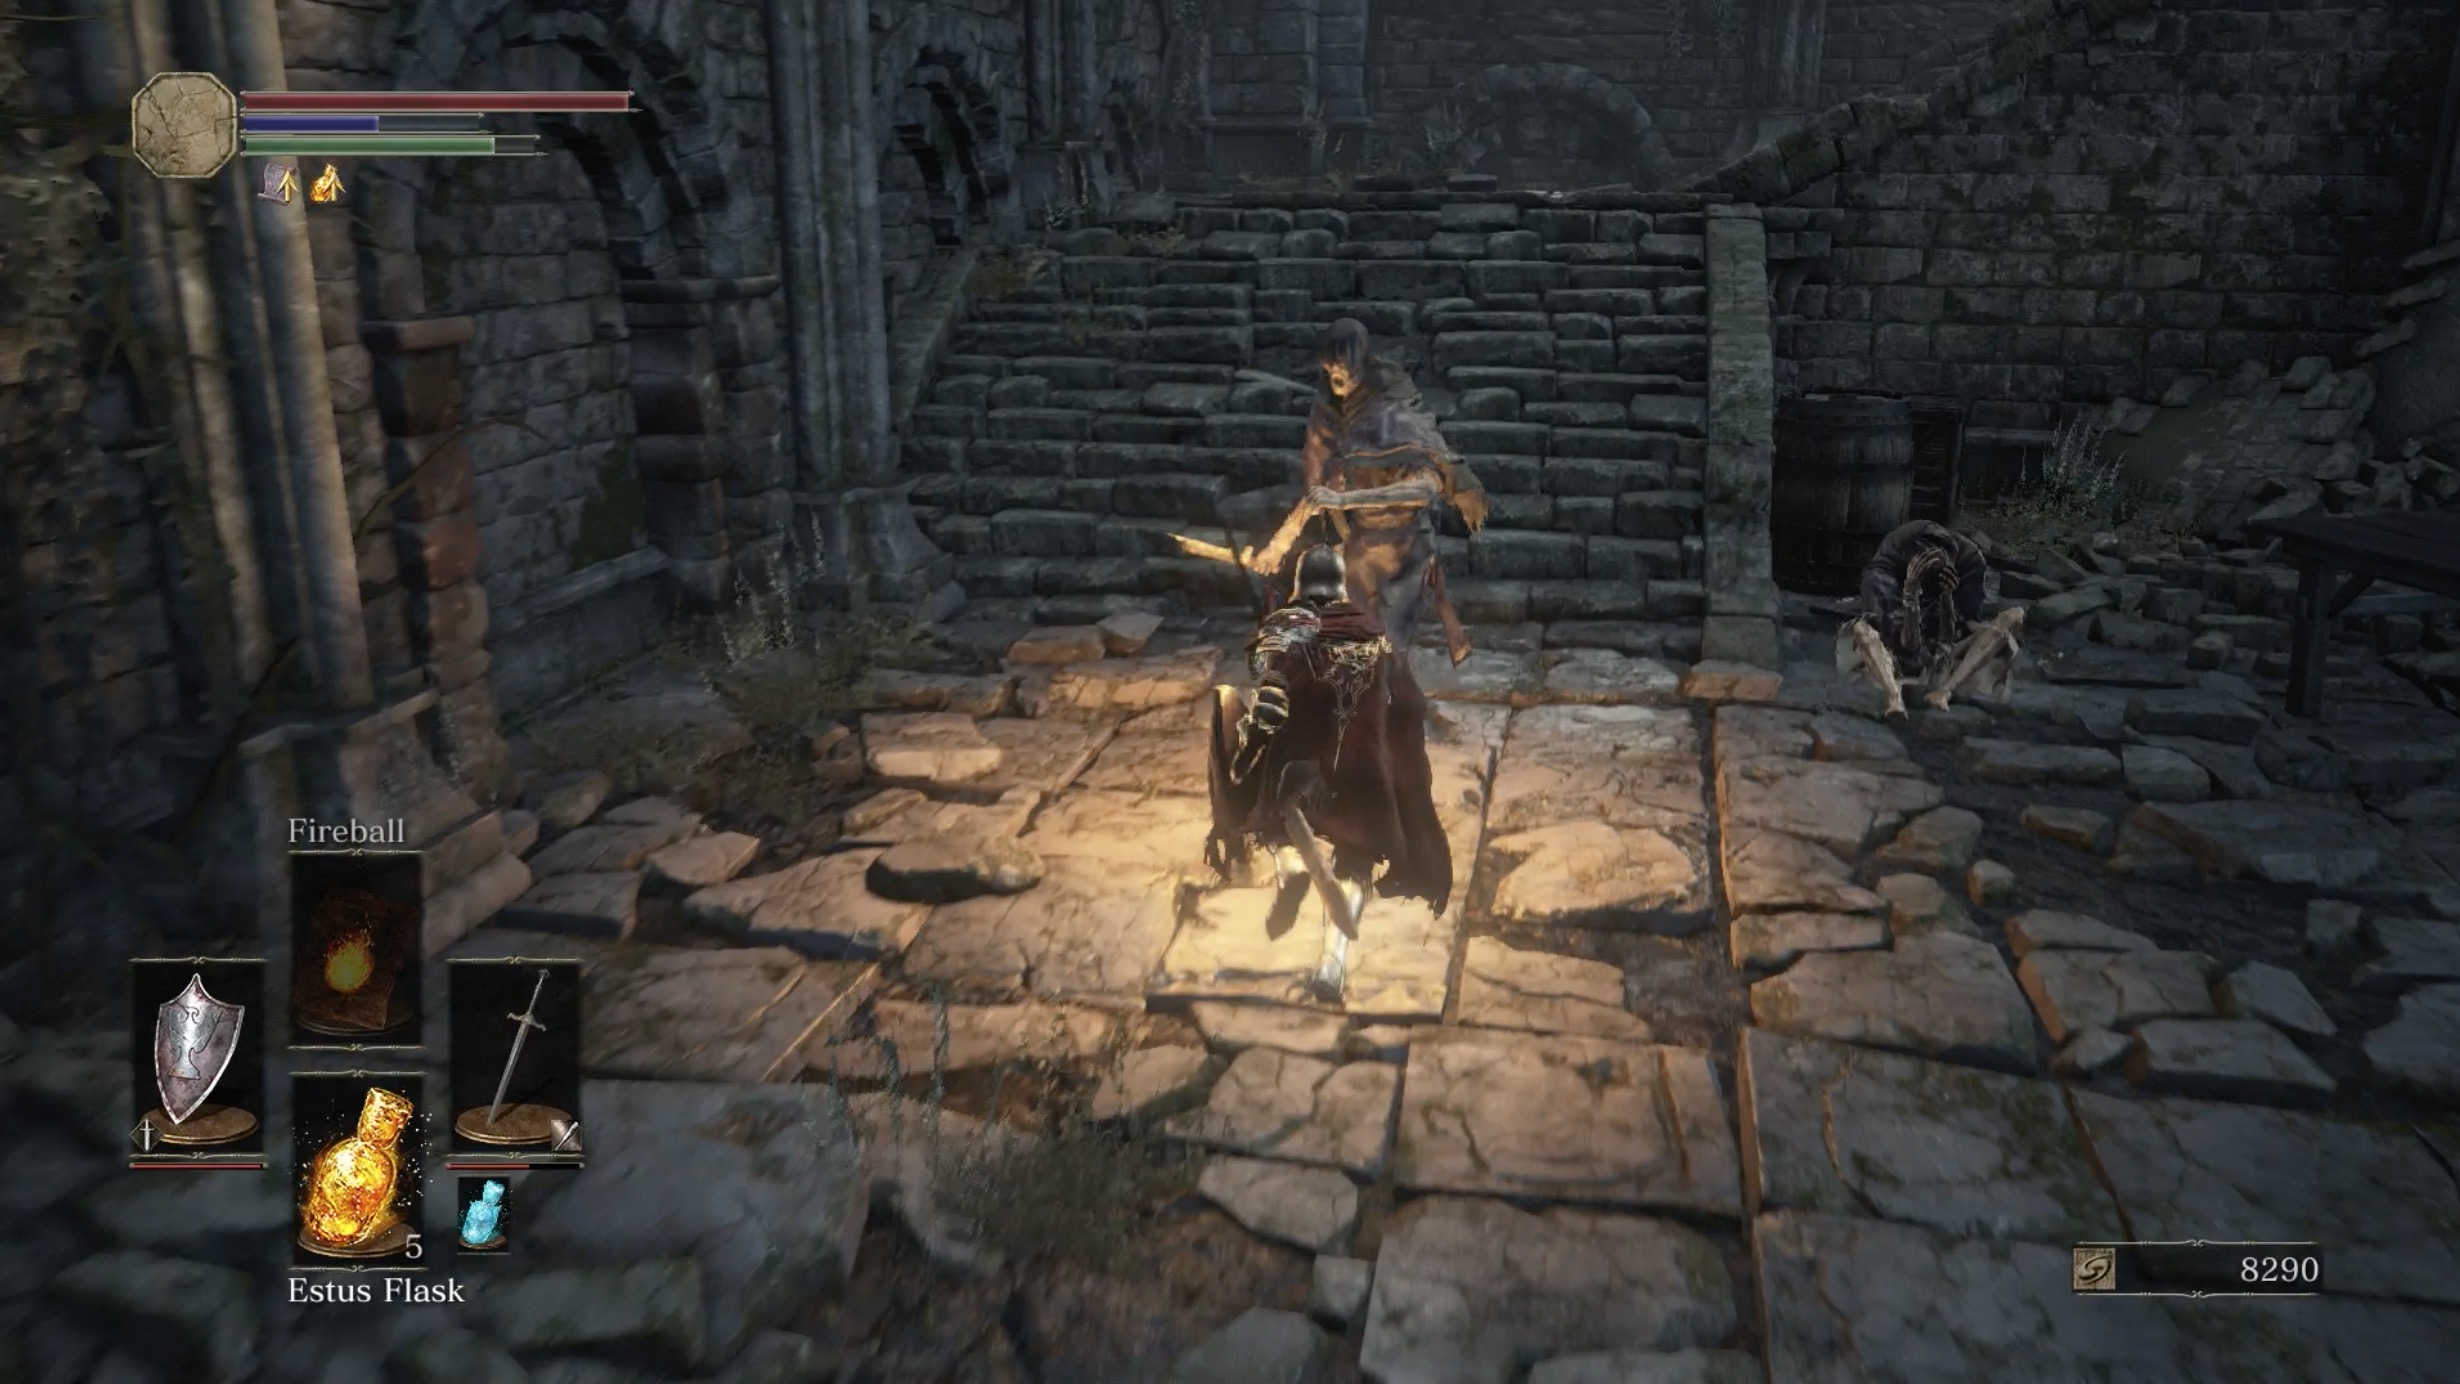
Go back into the room you came in through and head through the arched doorway in front of you. Turn left into the hallway and go up the stairs. There's a Crystal Lizard along with way that drops a Crystal Gem. Make two rights. You'll know you're on the right path when there's a Sage's Devout casting ranged attack spells from the other end of the room. It's as easy to melee kill as any Hollow, especially since it depends on its ranged spells. This room also features a few more Hollow, a couple of whom are eager to ambush you.
Past the doorway behind the Sage's Devout is another Sage's Devout on the ascending path. Behind him is the path to the next boss, the Crystal Sage.
Crystal Sage
Short version: Stay up close and personal, and make sure you have the right target.
Tactics (first phase): The sage relies on ranged magic attacks, so approach it aggressively and up close with melee weapons. After a few hits, it will disappear into the ground. Keep an eye out for lethal magic crystals in the middle of the map and be ready for the sage to reappear in another part of the battlefield. Rush the sage to deal another series of melee attacks. It will disappear multiple times.
Tactics (second phase): At a certain point, the sage will increase its attack four-fold with three decoys. You'll have to be quick and efficient with your movements to take out each one while dodging all their magic attacks. They shouldn't move from where they appear, so you have chances to hide behind columns for stamina recovery and healing. If you're lucky, your first target could be the real one.
Crystal Sage bonfire
Defeating the sage opens a path leading to the Cathedral of the Deep, which should be your next destination. There is an Evangelist and two Hollow Manservants along this route.
The fast travel tabs in the bonfire menu classifies four more bonfires within Road of Sacrifices. These bonfires are located in Farron Keep. Visit the Cathedral of the Deep first. It's an easier area than Farron Keep and you'll be better equipped to survive the latter with the experience and levels you gain in the Cathedral of the Deep.
Dark Souls 3 How to Get Black Knight
Source: https://www.polygon.com/2016/4/12/11412750/dark-souls-3-road-of-sacrifices-walkthrough
0 Response to "Dark Souls 3 How to Get Black Knight"
Post a Comment